Fall Food & Cocktail Recipes
Celebrate the changing seasons of Fall by having a seasonal recipe or cocktail to share with friends and outdoors. Be it game day, or weekend brunch, or a holiday event, find a new recipe you'll love today!
Need a suggestion? Try the Creamy Chicken Enchilada Soup, or cool-down with a Pumpkin Cold Brew, or how-about something FESTIVE like the Easy Pumpkin Spice Margarita! Just be prepared to share the recipe.
-
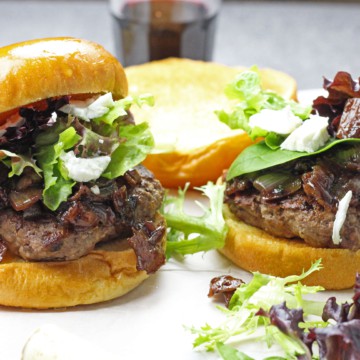
Wine Country Burgers
-
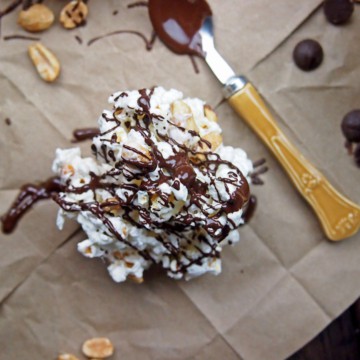
Salted Chocolate & Peanut Popcorn Clusters
-
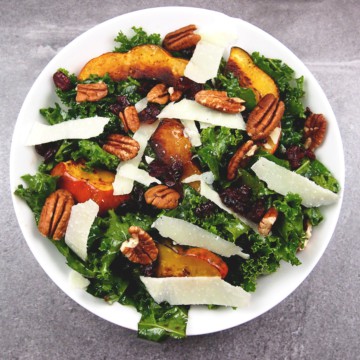
Roasted Squash Salad
-
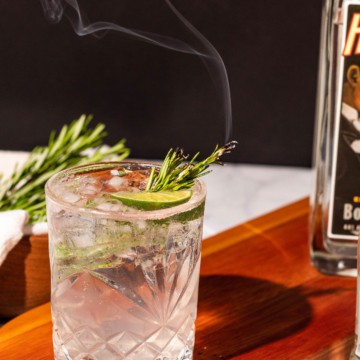
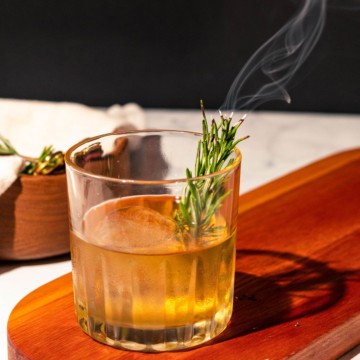
Smoked Rosemary Gin and Tonic Cocktail
-
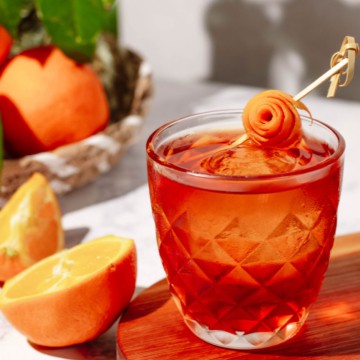
Smoked Rosemary Old Fashioned
-
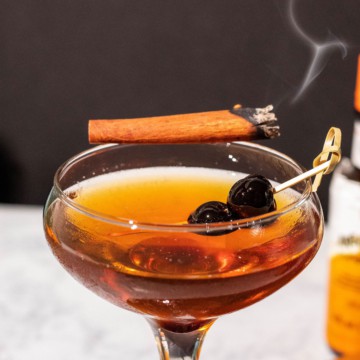
Smoked Manhattan with Cinnamon
-
Baked Brie with Fig Jam Recipe
-
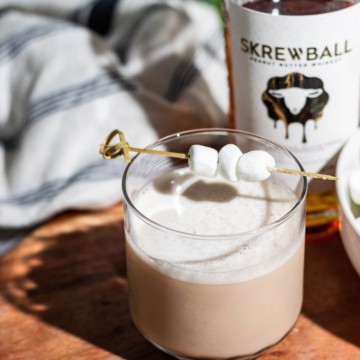
Fluffernutter Peanut Butter Whiskey Cocktail
-
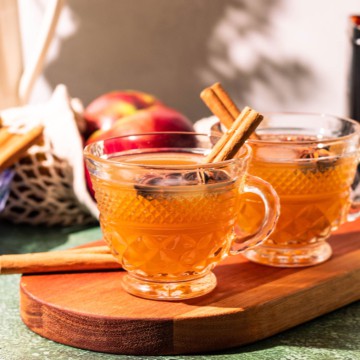
Apple Cider Hot Toddy with Tea
-
10 Best Creamy Cocktails to Try Tonight
-
Pumpkin Cream Cold Brew (Starbucks Copycat)
-
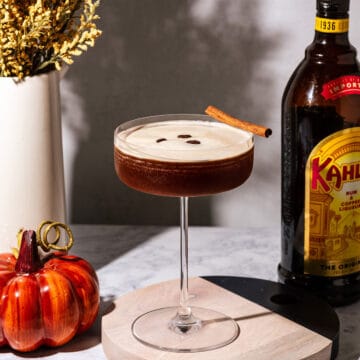
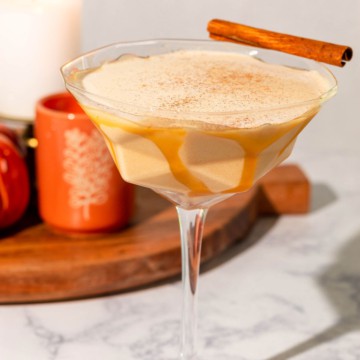
Best Pumpkin Spice Espresso Martini Recipe
-
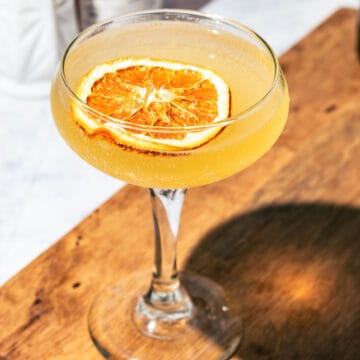
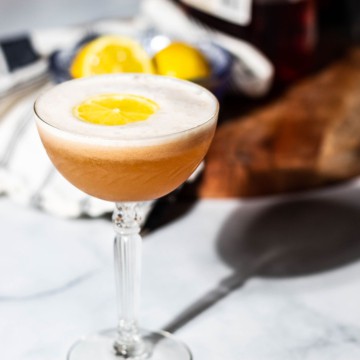
French 95 (aka French 75 with Bourbon)
-
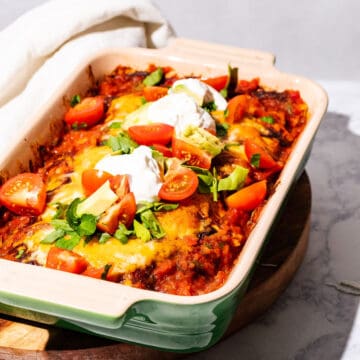
Easy Smoked Chicken Enchiladas (No Smoker Required)
-
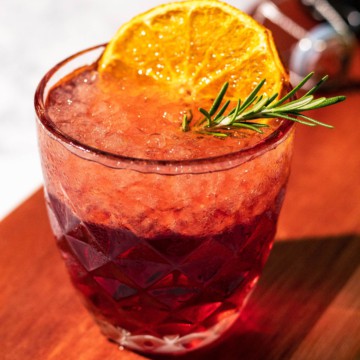
Negroni Sbagliato (with Prosecco – Negroni Spritz)
-
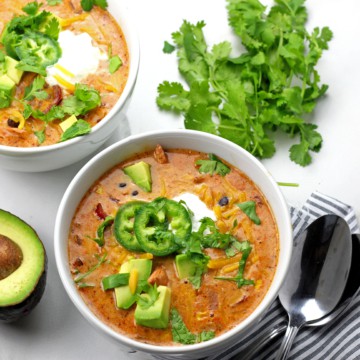
Creamy Chicken Enchilada Soup
-
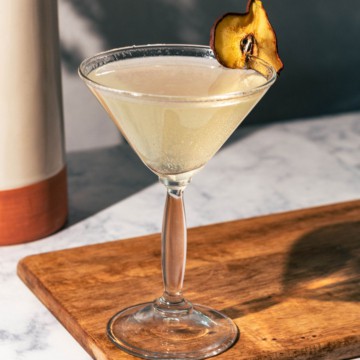
Sparkling French Pear Vodka Martini
-
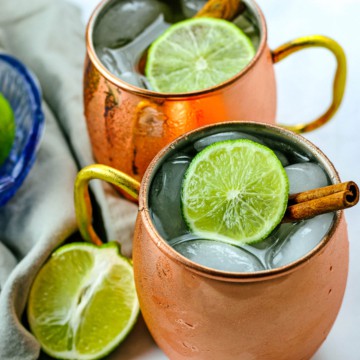
Kentucky Bourbon Mule
-
17 Glitter Cocktails to Add Sparkle to Your Night
-
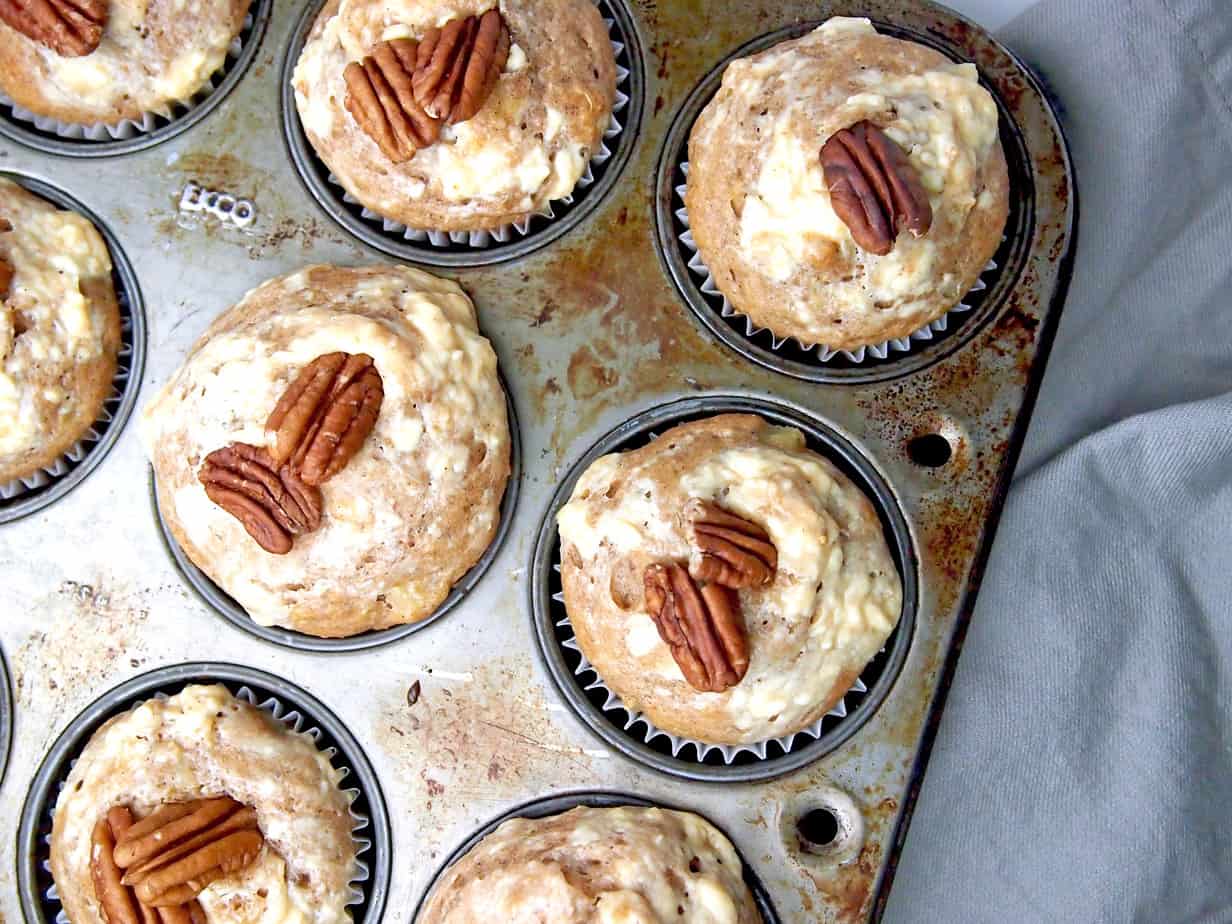
Hummingbird Muffins
-
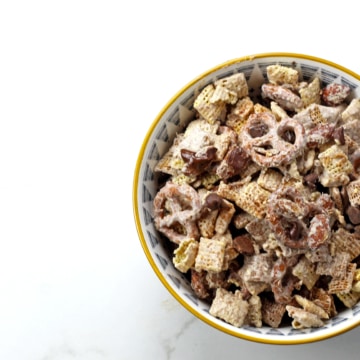
Churro Chex Mix
-
Spiced Dark Rum Old Fashioned Cocktail
-
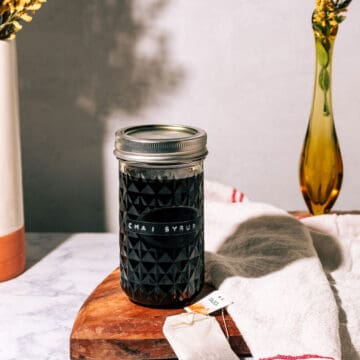
Homemade Chai Simple Syrup Recipe
-
Pumpkin Spice Dark and Stormy Fall Rum Cocktail
-
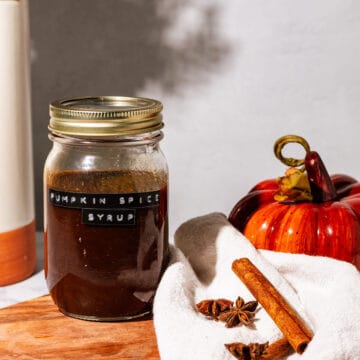
Homemade Pumpkin Spice Simple Syrup for Coffee and Cocktails
-
Añejo Tequila Old Fashioned Recipe
-
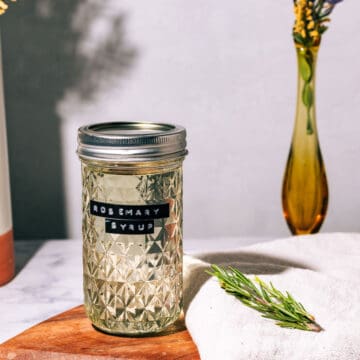
Easy Rosemary Simple Syrup Recipe
-
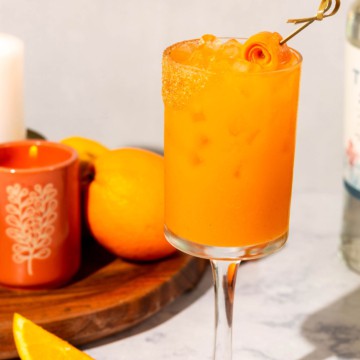
Fall Pumpkin Spice Margarita
-
Pumpkin Spice Mudslide Martini with Baileys
-
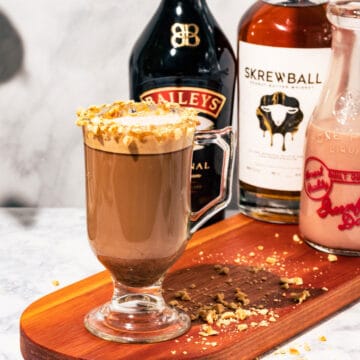
Snickers Irish Latte with Baileys and Skrewball Whiskey
-
Aperol Negroni (Aperol Gin Cocktail)
-
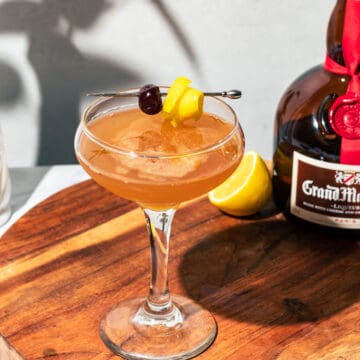
Man O’ War Cocktail (with Bourbon and Grand Marnier)
-
Pomegranate Sour Cocktail Recipe
-
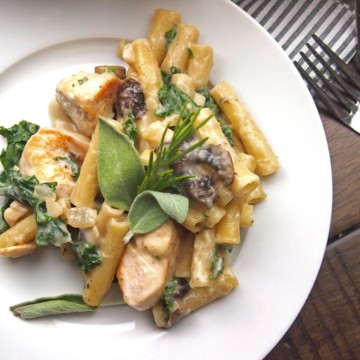
Creamy Chicken Pasta Bake with Kale and Mushrooms
-
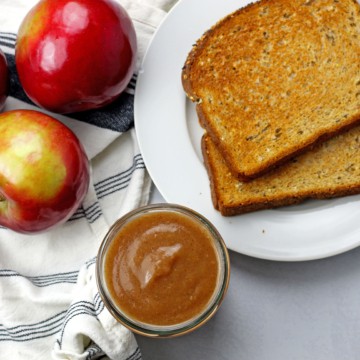
Instant Pot Apple Butter
-
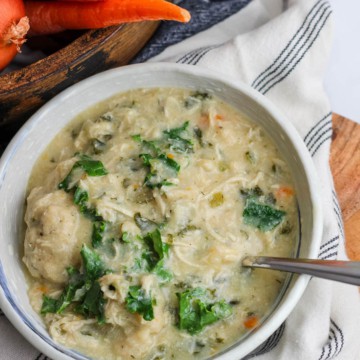
Instant Pot Chicken and Pancake Mix Dumplings with Winter Greens
-
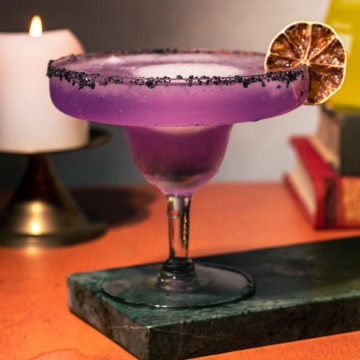
Practical Magic Halloween Midnight Margaritas
-
Pumpkin Pie Hummus
-
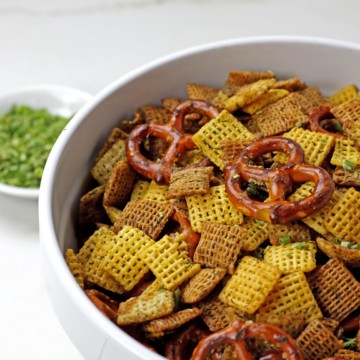
Ranch Chex Mix
-
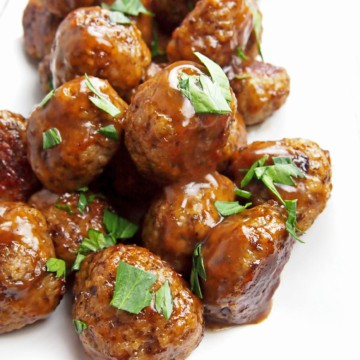
Chicken Marsala Meatballs