Skip to primary navigation
Skip to main content
Skip to primary sidebar
About
Contact Me
Nutrition Coaching
Blog
Instagram
Pinterest
TikTok
Facebook
YouTube
Search
menu icon
All Recipes
About
Subscribe
Contact Me
Instagram
Pinterest
TikTok
Facebook
YouTube
search icon
Search
All Recipes
About
Subscribe
Contact Me
Instagram
Pinterest
TikTok
Facebook
YouTube
×
Home
»
Recipes
Blog
Peach Moscow Mule with Whipped Cream Vodka
Limoncello Spritz
Blue Curaçao Mojito
Enzoni Cocktail (Campari Gin Sour)
Virgin Piña Colada Mocktail
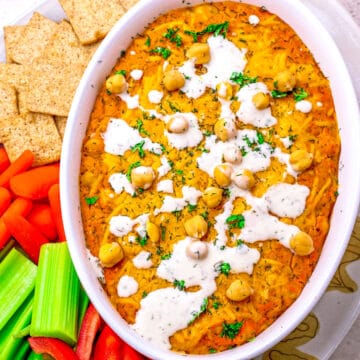
Easy Buffalo Chickpea Dip
17 Galentine’s Cocktails to Celebrate Your Besties
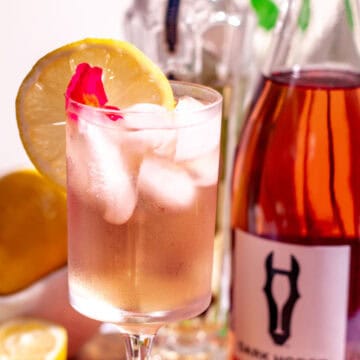
Elderflower Rosé Wine Spritzer
White Chocolate Raspberry Loaf Cake
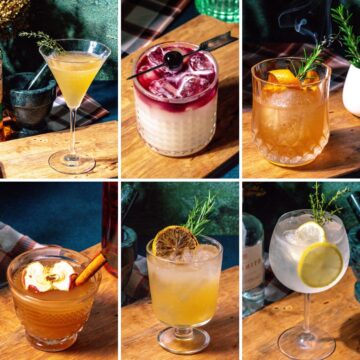
6 Outlander Cocktails to Transport You to the Highlands
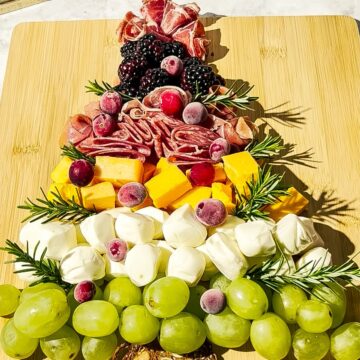
How to Make a Christmas Tree Charcuterie Board
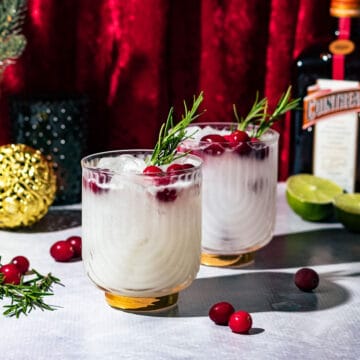
Easy White Christmas Margaritas
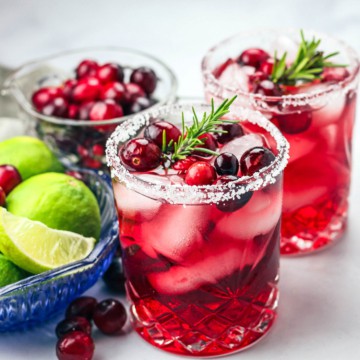
Big Batch Christmas Cranberry Mistletoe Margaritas
23 Best Gift Ideas for Wine Lovers (2025)
Champagne and Sparkling Wine – What’s the Difference?
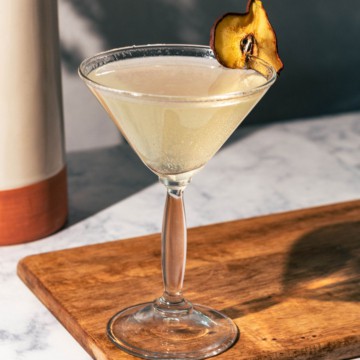
Sparkling French Pear Vodka Martini
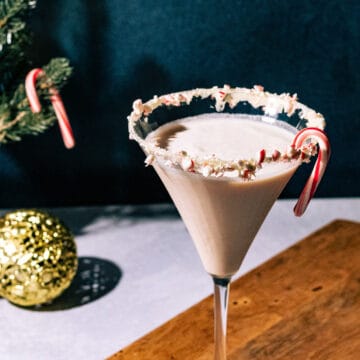
Creamy Candy Cane Martini
Pecan Pie Martini
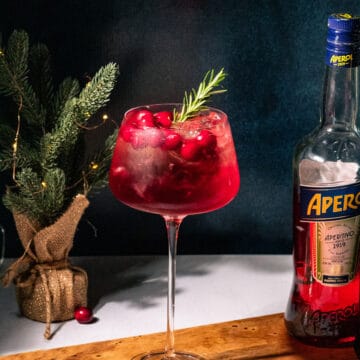
Winter Cranberry Aperol Spritz
13 Best Prosecco Gifts & DIY Gift Basket Ideas (2025)
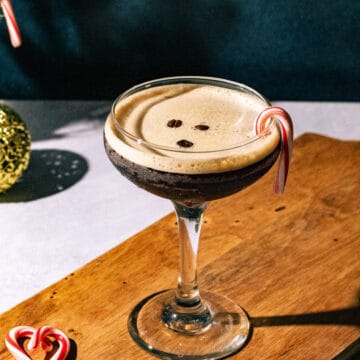
Peppermint Espresso Martini
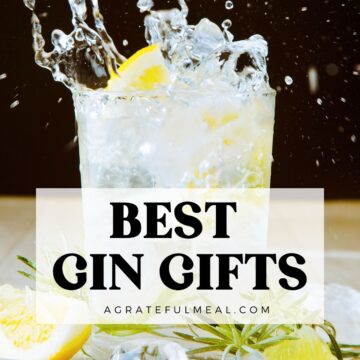
29 Best Gin Gifts from Unique to Practical (2025)
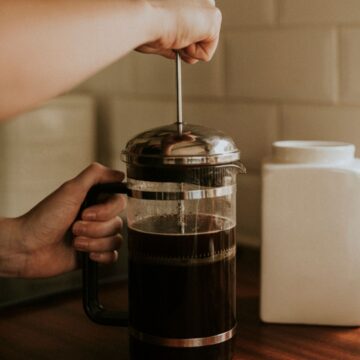
Best French Press Recipe (Full Tutorial with Video)
10 Best Margarita Gifts & DIY Gift Basket Tips (2025)
Baked Brie with Fig Jam Recipe
Hocus Pocus Cocktail Recipe
Fall Pumpkin Spice Margarita
Creamy Potato Leek Soup with Kale and Bacon
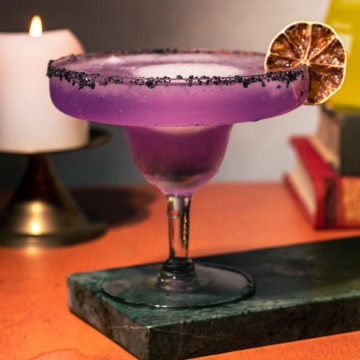
Black Magic Margarita Recipe
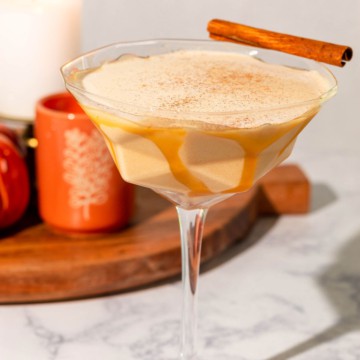
Pumpkin Spice Mudslide Martini with Baileys
Pumpkin Cream Cold Brew (Starbucks Copycat)
Añejo Tequila Old Fashioned Recipe
Apple Cider Brined Pork Chops with Brussels Sprouts
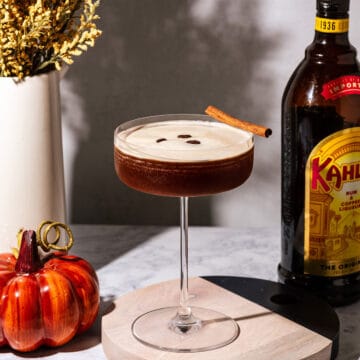
Best Pumpkin Spice Espresso Martini Recipe
Practical Magic Halloween Midnight Margaritas
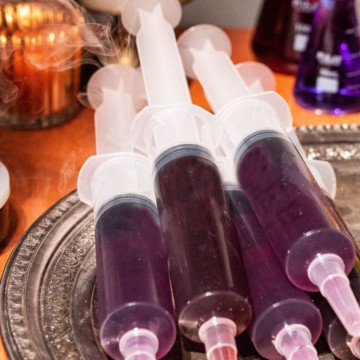
How to Make Syringe Jello Shots for Halloween
Strawberry Gin Smash Cocktail
Basil Gin and Tonic with Lemon
Hugo Spritz (St-Germain Elderflower Spritz with Mint)
Strawberry Shortcake Martini with Whipped Cream Vodka
Next Page »