Winning Recipes for Game Day
Get ready to score big at your next tailgate or Super Bowl party! No matter what sport or team you root for, these recipes are sure to be a touchdown with your crew.
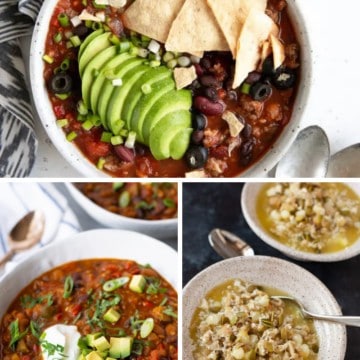
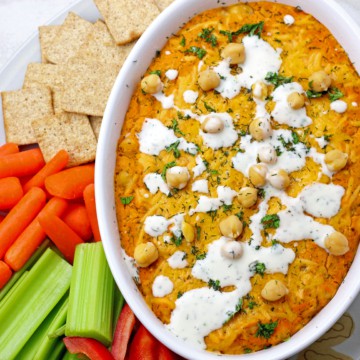
Looking for a few winners? Try my Buffalo Chickpea Dip or Creamy Chicken Enchilada Soup with a refreshing side of my smoky Mezcal Margarita that can easily be batched for crowd! Be the MVP of your party with these crowd-pleasers!
-
Mezcalita (Mezcal Margarita Cocktail with Orange)
-
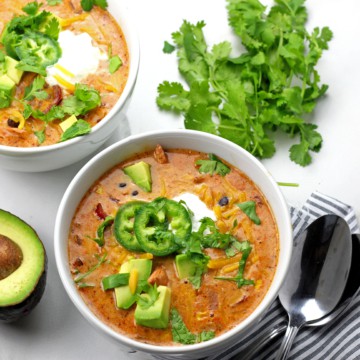
Creamy Chicken Enchilada Soup
-
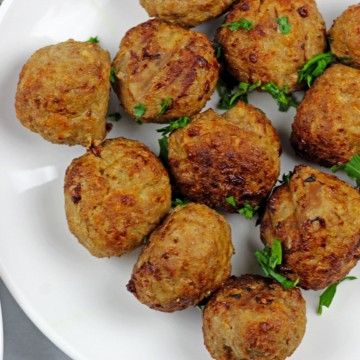
Air Fryer Turkey Meatballs Recipe
-
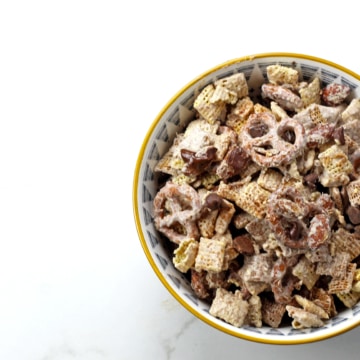
Churro Chex Mix
-
Ground Turkey Slow Cooker Recipes [Crockpot or Instant Pot]
-
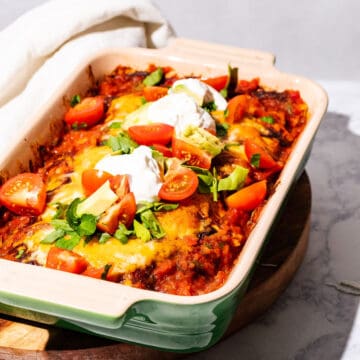
Easy Smoked Chicken Enchiladas (No Smoker Required)
-
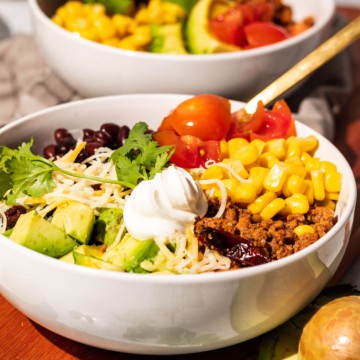
Turkey Taco Bowl
-
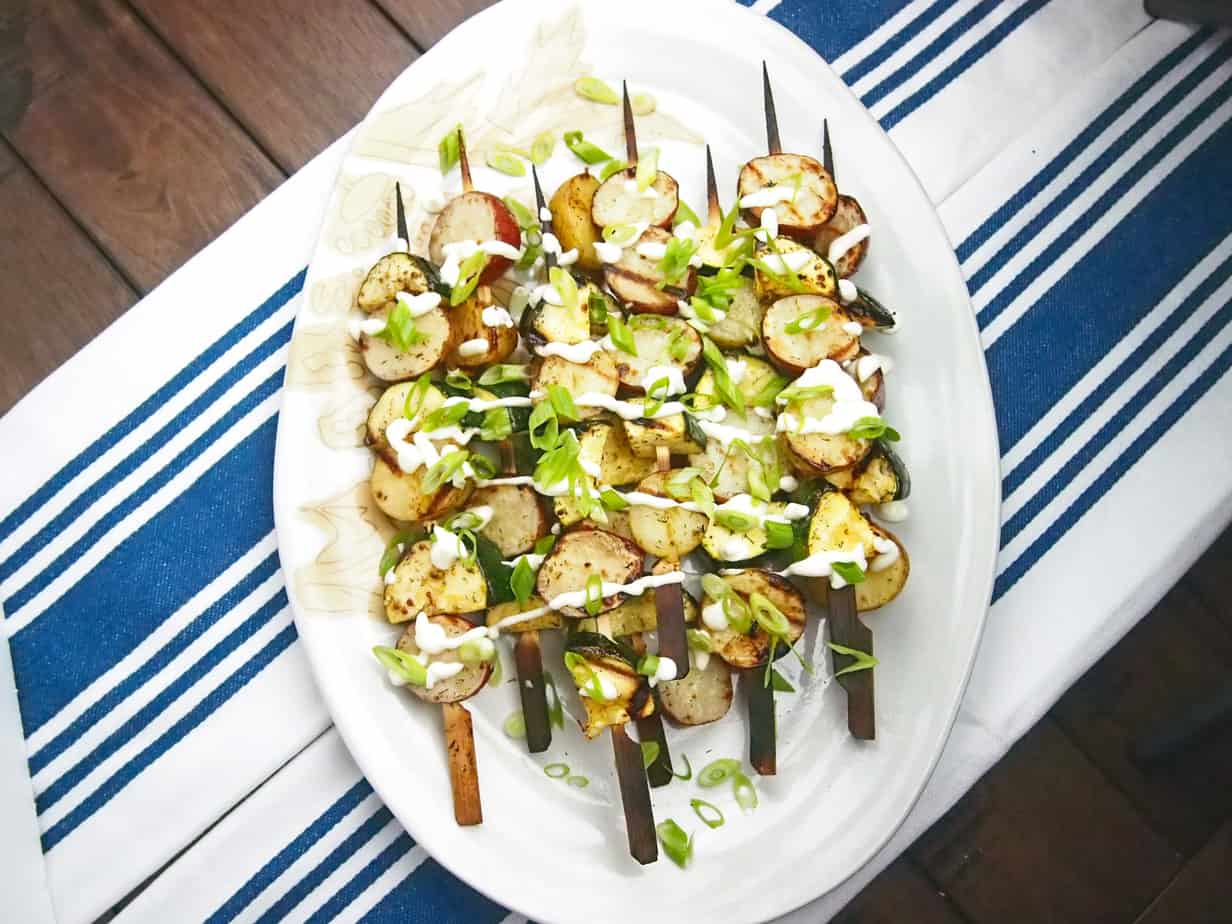
Grilled Potato Salad Skewers with Zucchini
-
DIY Individual Charcuterie Cone Cups
-
Air Fryer Egg Rolls with Chinese Five Spice
-
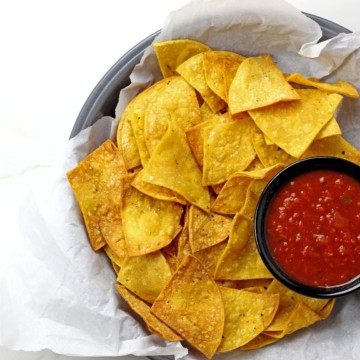
Air Fryer Tortilla Chips
-
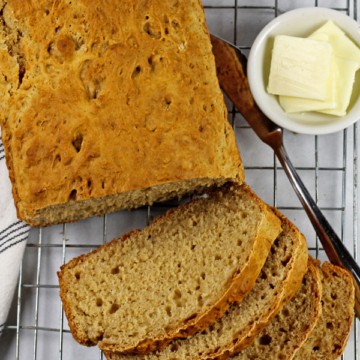
3 Ingredient Beer Bread
-
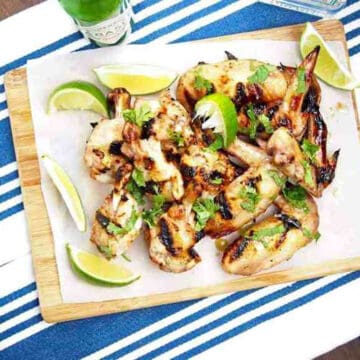
Grilled Margarita Wings
-
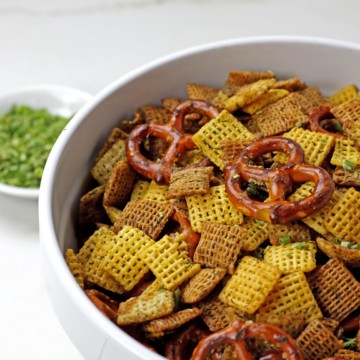
Ranch Chex Mix
-
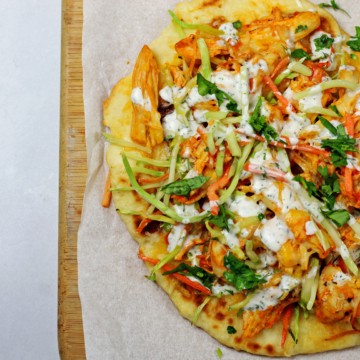
Buffalo Chicken Flatbread Recipe
-
Homemade Pepperoni Rolls with Peppers
-
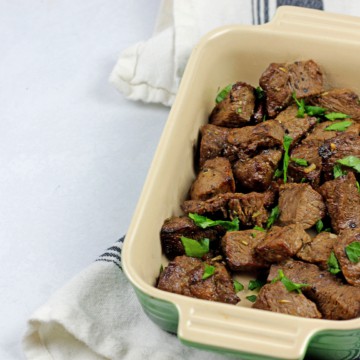
Air Fryer Steak Bites
-
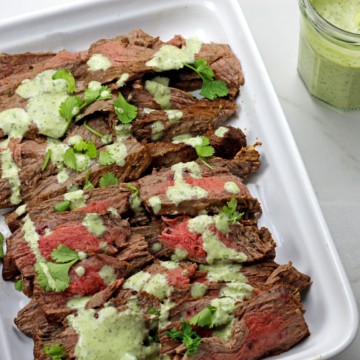
Instant Pot Carne Asada
-
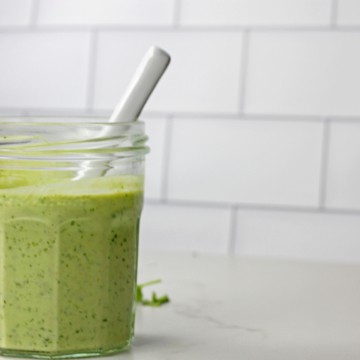
Cilantro Garlic Sauce
-
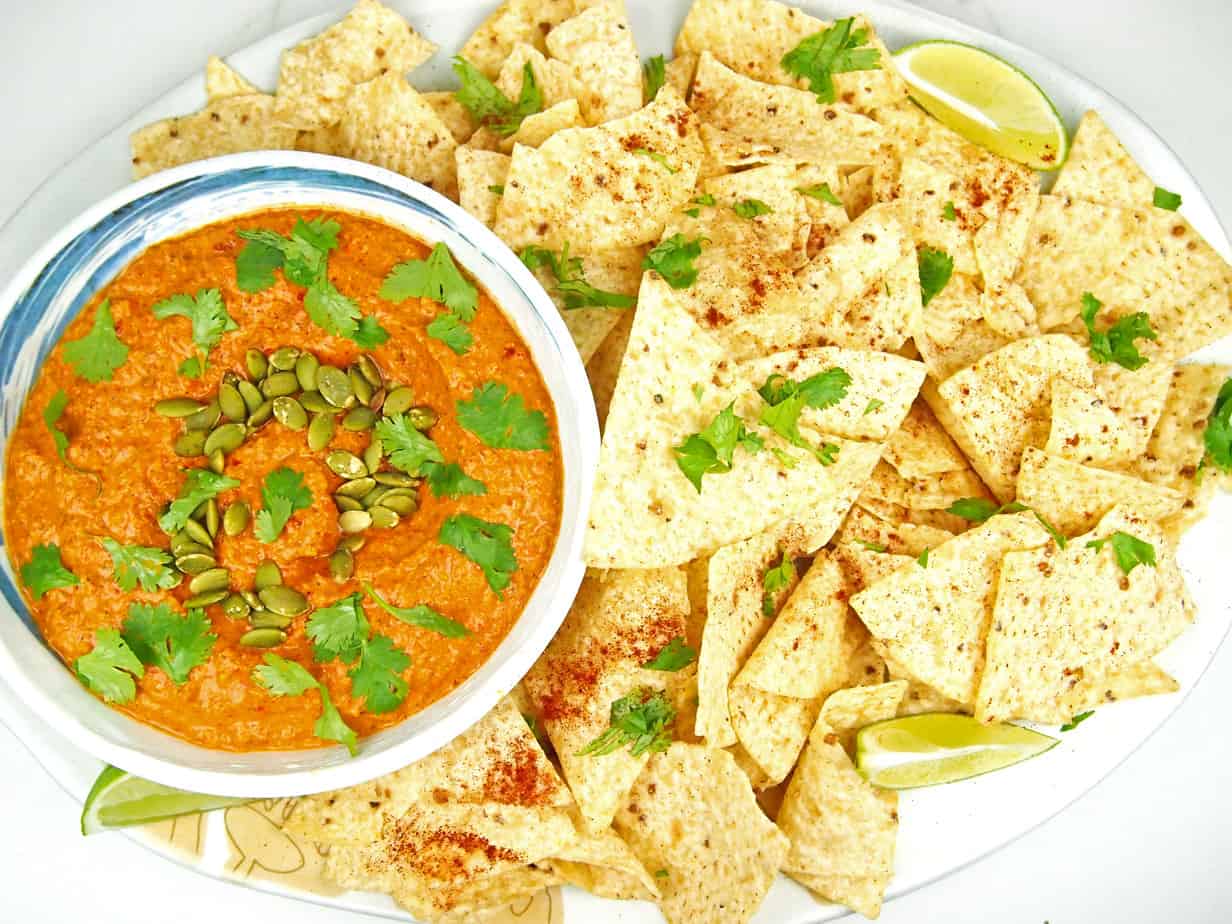
Buffalo Chickpea Dip
-
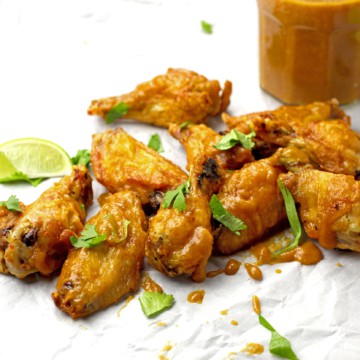
Air Fryer Wings with Mango BBQ Sauce
-
Pepita and Red Pepper Salsa
-
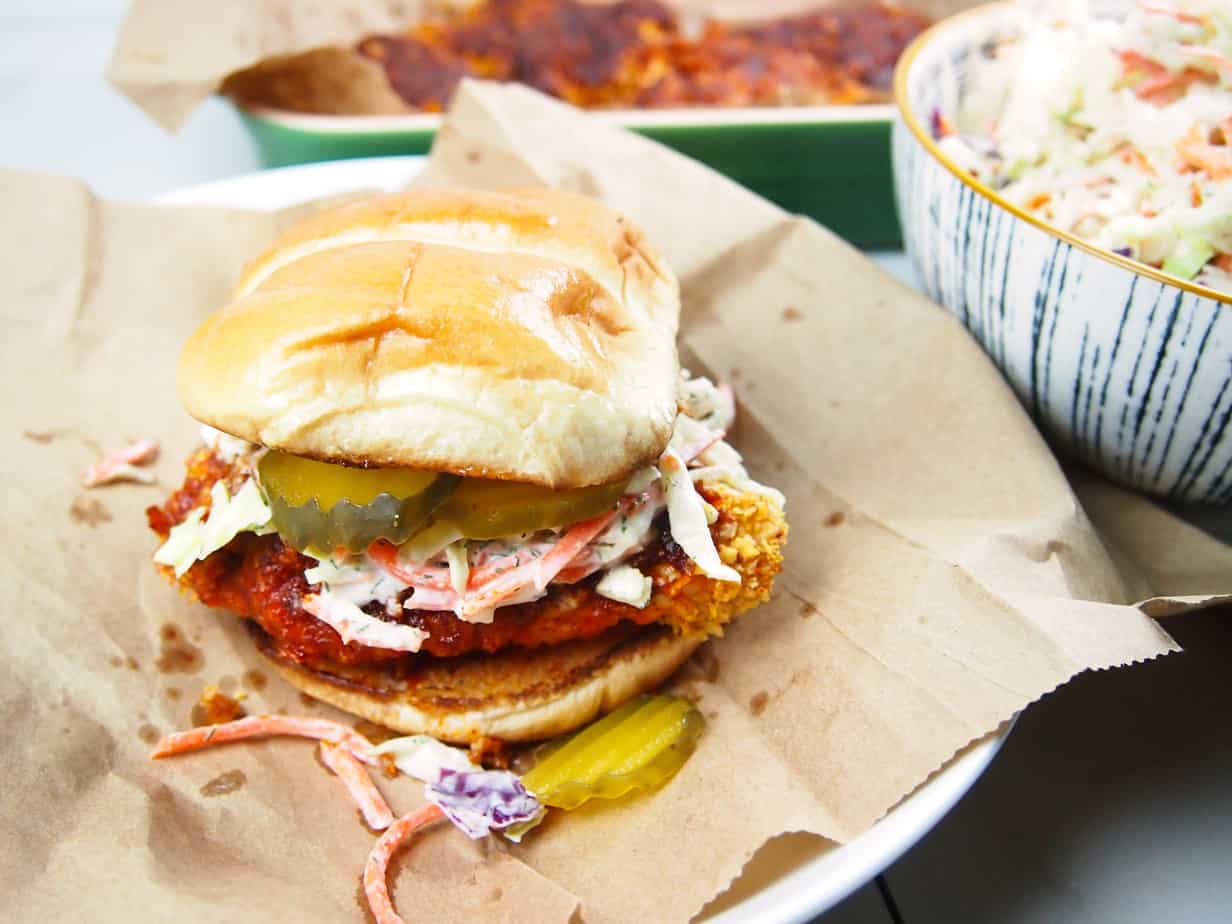
Nashville-Style Oven Fried Hot Chicken Sandwich with Dill Slaw
-
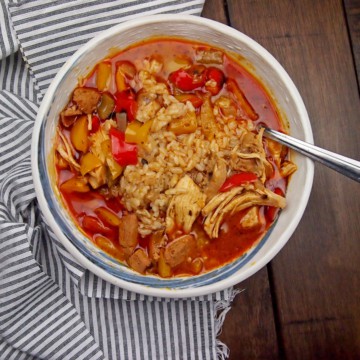
Chicken Gumbo
-
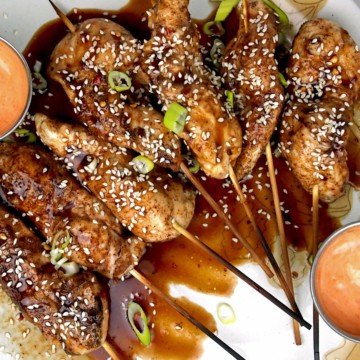
Honey and Hoisin Grilled Chicken Skewers
-
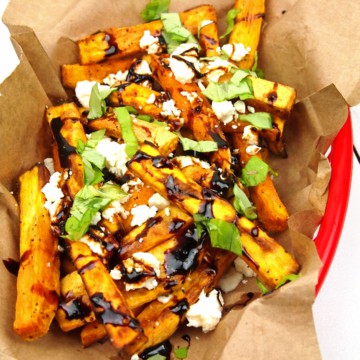
Loaded Sweet Potato Greek Fries