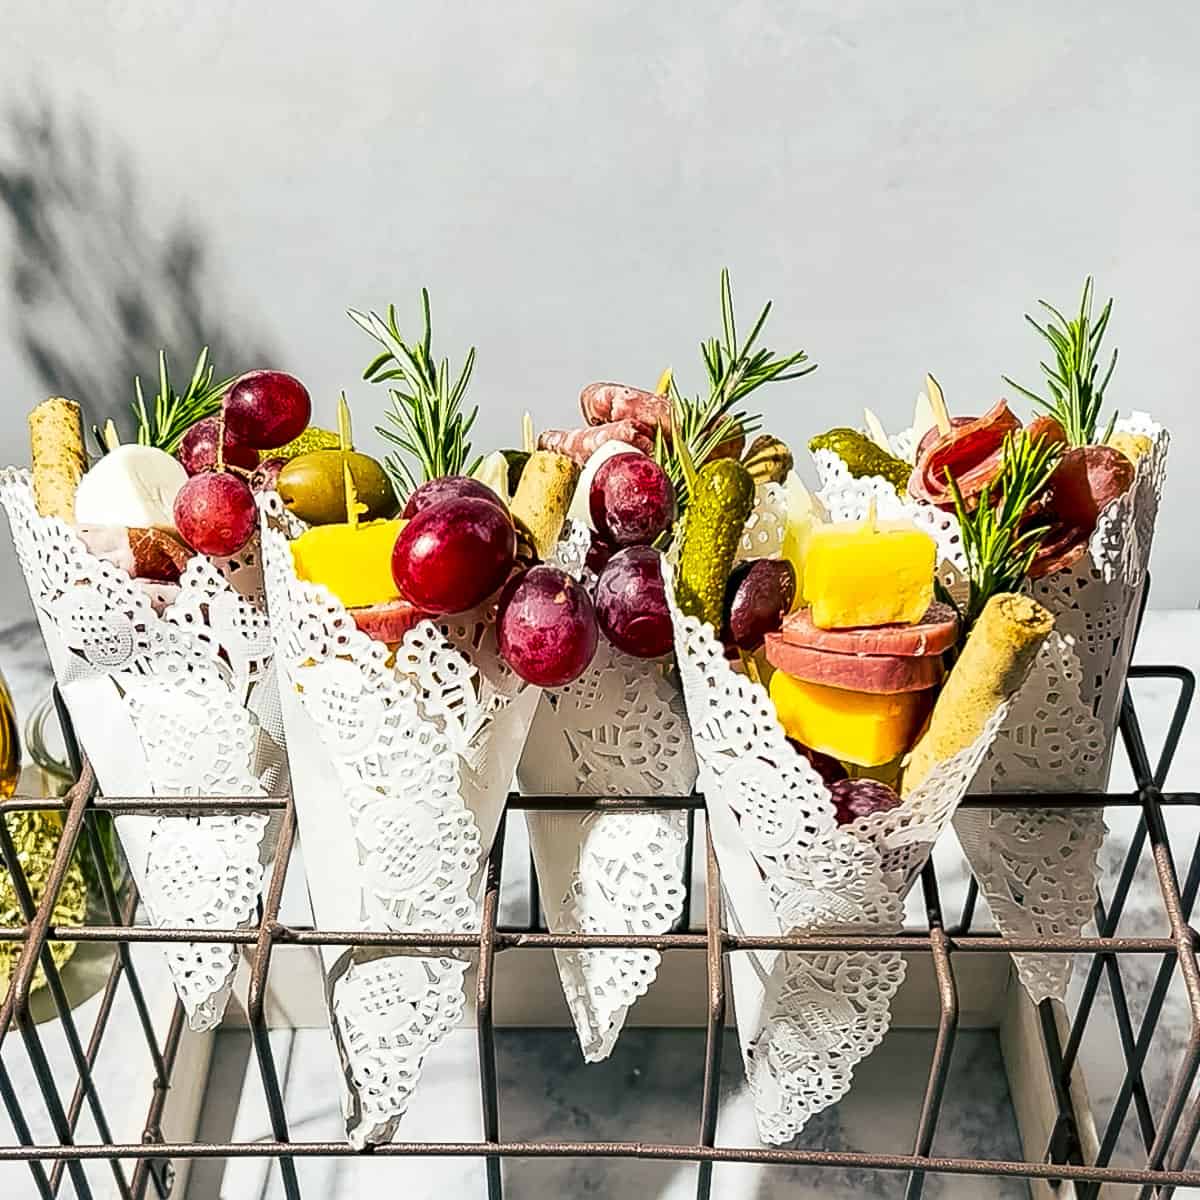
These DIY Individual Charcuterie Cups are an easy and fun twist on the traditional charcuterie board. They are super easy to make and perfect for beginners.
This post covers how to make your own paper cups, where to buy paper cups if you prefer store-bought options, and how much charcuterie you need per person.
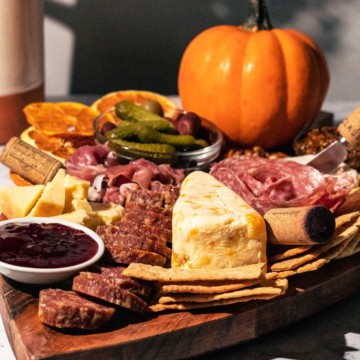
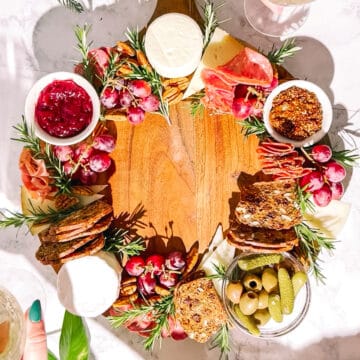
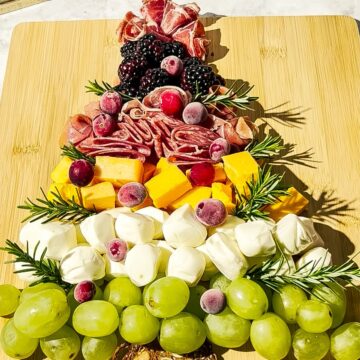
I love to make all manner of charcuterie boards, so if you’re looking for more charcuterie inspiration, you may want to also check out my Mini Charcuterie Board Ideas or my holiday boards like my Thanksgiving Charcuterie Board, Charcuterie Wreath, and Charcuterie Tree.
If you need wine pairings for your boards, you should also check out how to choose wines for charcuterie boards.
Jump to:
Why You’ll Love This Guide
- They are a super easy party appetizer and perfect for beginners.
- Your guests will love having their own personal charcuterie board in their hands. They are the perfect individual appetizers or a handheld snack for all sorts of occasions including holiday parties, bridal or baby showers, game days, or your next happy hour.
- It’s eye-catching and your guests will be so impressed with these easy Charcuterie Cups that they’ll think that they were made by a professional.
Ingredient Notes
This list is not comprehensive, so obviously, so feel free to swap out different ingredients as you see fit.
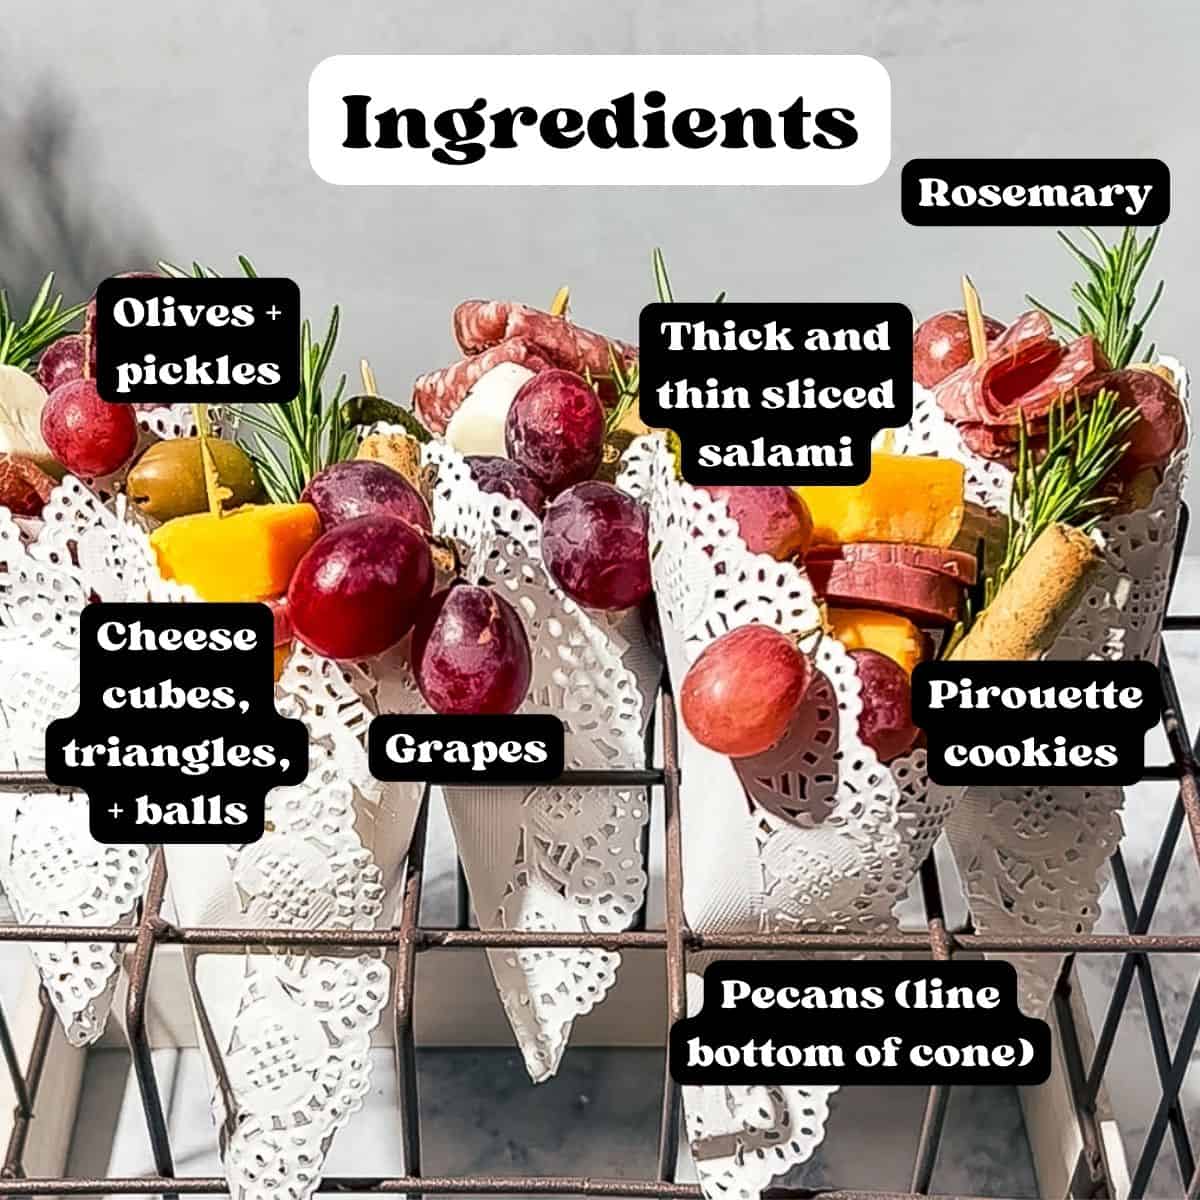
- Nuts – Choose your favorite nuts, I like to line the bottom of the paper cup with the nuts.
- Cheese cut into triangles – Long triangles of cheese help some height and interest to the charcuterie cups. I used manchego triangles that were pre-sliced at Costco.
- Pickles and olives – Skewered pickled vegetables and olives are another way to add some height. Guests can easily bite them from the skewer.
- Grapes – These will need to be cut into small clusters to make them easier to eat. They can drape over the front of the cups. I used red grapes, but green grapes would also look great in these appetizer cups. Other fresh fruits cut into cubes or grape tomatoes are also great options.
- Meat – Sliced and folded salami is my favorite to use. But you can use many different kinds of meats, so go with your favorites.
- Cheese cubes and balls – There are many types of cheese that would work for these appetizer cups. Mini mozzarella balls and hard cheeses cut into cubes go on skewers very easily.
- Pirouette cookies – This is a fun way to add a little sweet to the charcuterie cups. Mine were too long, so I broke them in half, which made them the right size for my cones.
- Rosemary sprigs – This is for garnish. You can also use other fresh herbs like thyme.
Equipment Needed
You have two options for the cups:
- Buy the cups – I’ve linked some options from Amazon below.
- You can make them – I’ve included a brief tutorial on how to make your own cup cones from paper doilies.
Where to Buy Cups for Charcuterie
Option 1: Buy the cups – here are a couple of options from Amazon to buy the charcuterie cups. I prefer paper cups over clear plastic cups.

Flat Bottom Appetizer/Charcuterie Cups
Buy Now →
Cone Shape Appetizer/Charcuterie Cups
Buy Now →Option 2: Make your own charcuterie cups. These can be easily made with 6” paper doilies and permanent double-sided tape. Supplies you’ll need to make your own:
 Buy Now →
  Buy Now →
 Instructions to Make Doily Cones
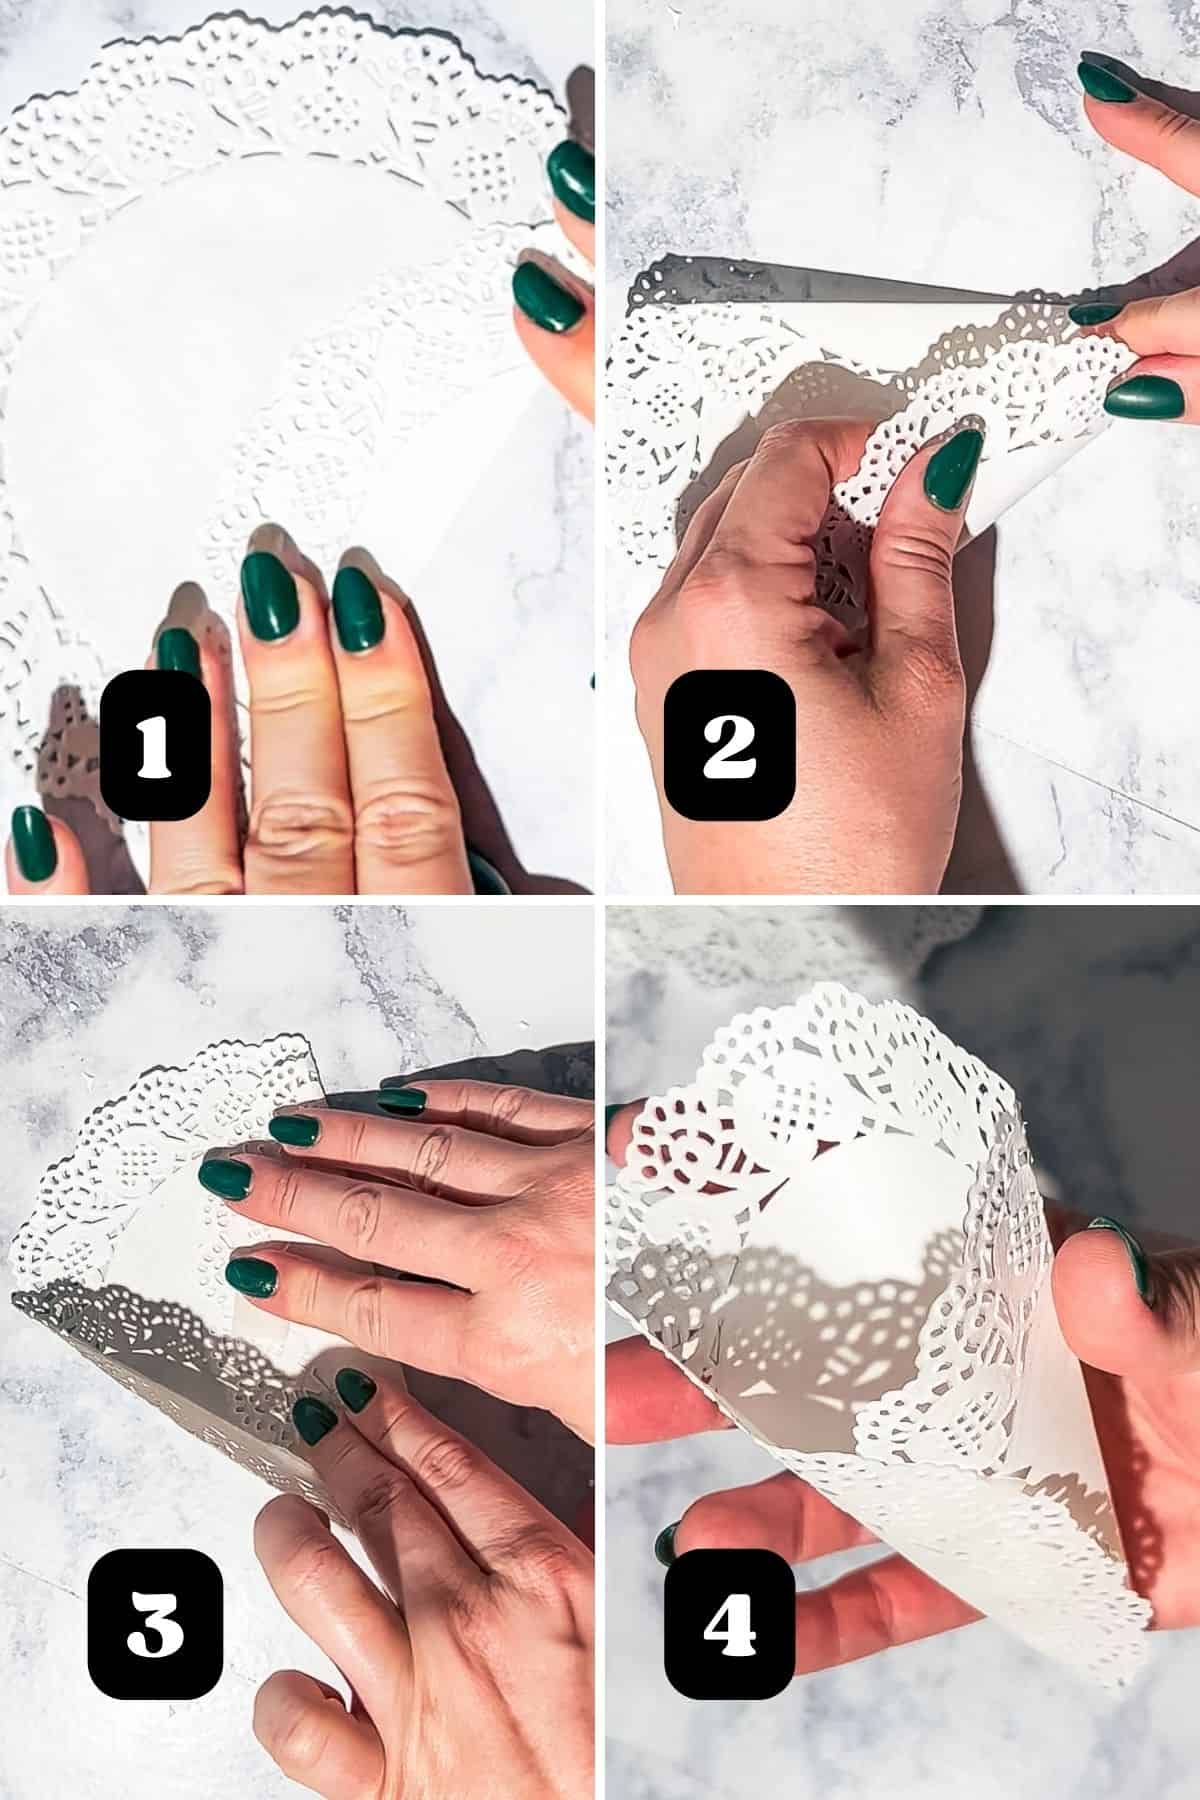
Step 1: Fold the first side of the doilie so that edge touches approximately the mid-point of the doilie.
Step 2: Fold the other side of the doilie at an angle so that it overlaps the other side and forms a cone shape. Make sure the bottom peak does not have a gap in which food could fall out of the cup.
Step 3: Place tape on the first folded flap and bring the other side over to adhere to tape.
Step 4: Press on the creases to open the cone and add your charcuterie.
Other Supplies Needed
Holder for Cone Shaped Cups
If you opt for a cone shaped cup, you will probably also need a “holder.” I used a wire basket that I turned upside down, so if you have one laying around, it would be a good option. Here are couple of options for a holder:
 Buy Now →
  Buy Now →
 Cocktail Picks
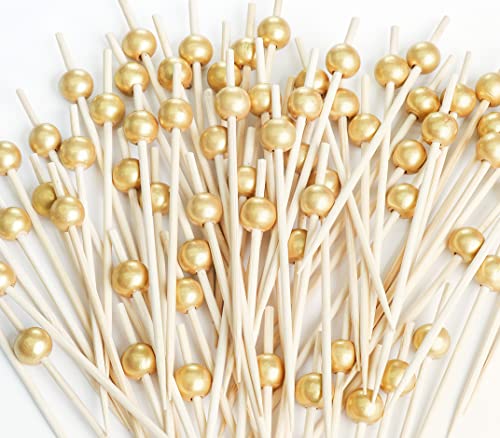
Lastly cocktail picks are necessary in order to skewer the charcuterie and will stick out of the cone. Here are a couple of options to choose from:
 Buy Now →
  Buy Now →
 Step-by-Step Instructions for Adding the Charcuterie
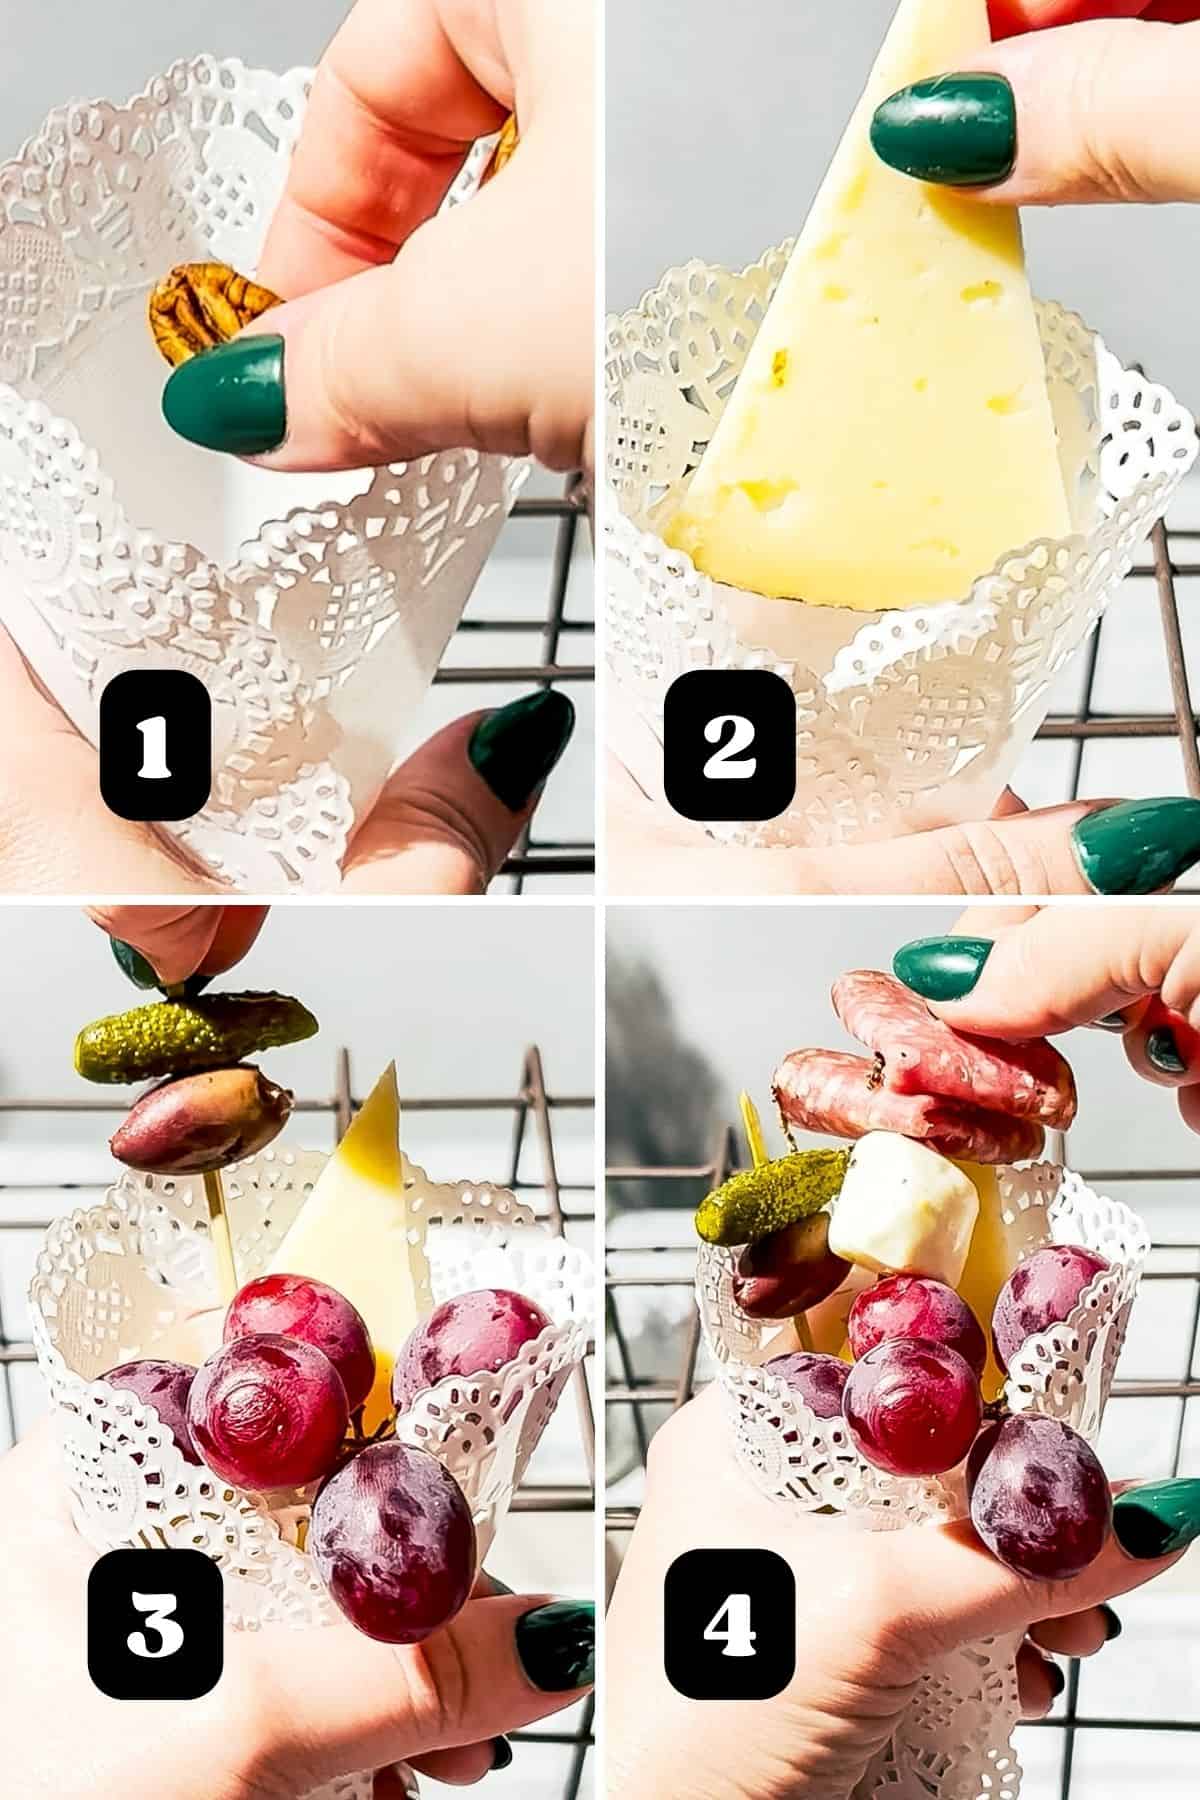
Step 1: Add nuts to the bottom of the cup.
Step 2: Add any cheese that is long and vertical, like cheese triangles.
Step 3: Drape a small grape cluster over the front part of the cone and add skewers of pickles.
Step 4: Add additional skewers of meat and cheese.
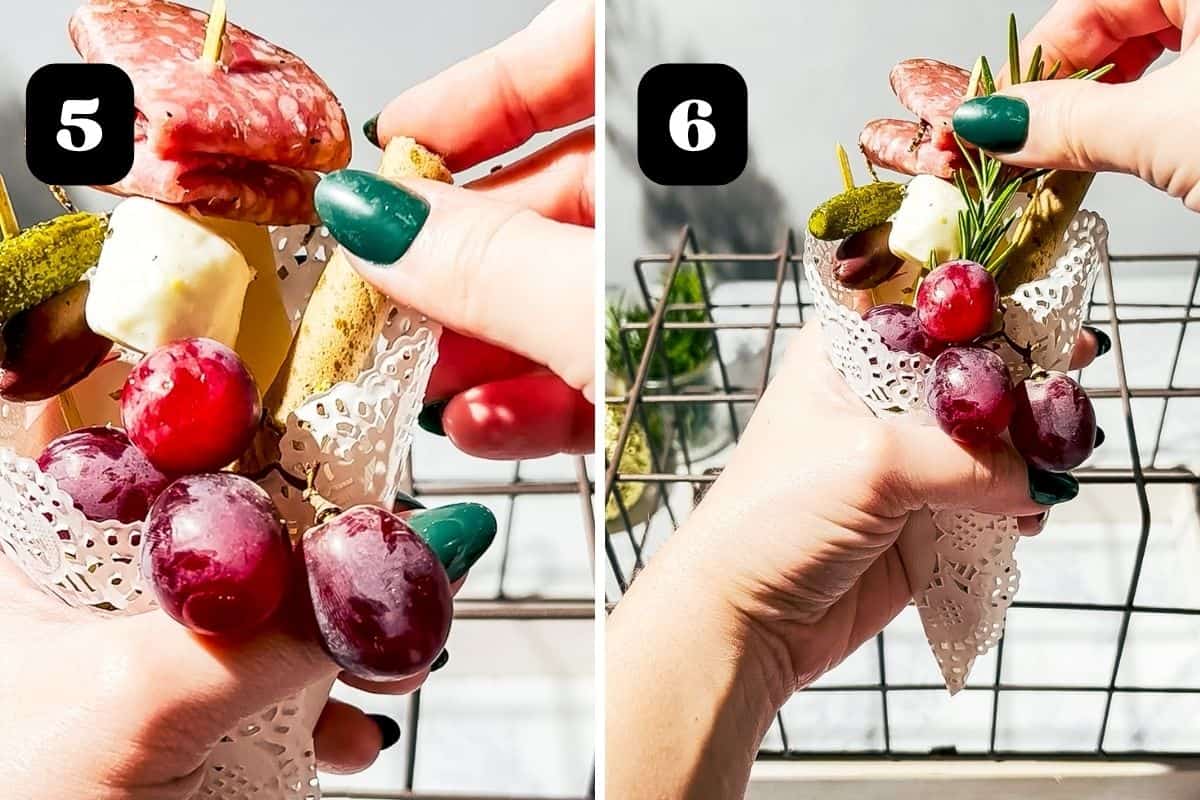
Step 5: Add a pirouette cookie.
Step 6: Garnish with a sprig of rosemary.
Pro tip:
Whatever you choose for your charcuterie cups, always start with the nuts first, followed by your larger items, then smaller items to make sure that there is space for everything.
Recipe FAQ
You can put these together the day before you need them. They can be refrigerated on a tray or display holder with a cover of plastic wrap.
Many of the store-bought charcuterie cones are made with recycled paper, and the DIY cones are made with doily paper.
For flat-bottom cups, a tiered food display rack is a great choice to display your mini charcuterie cups.
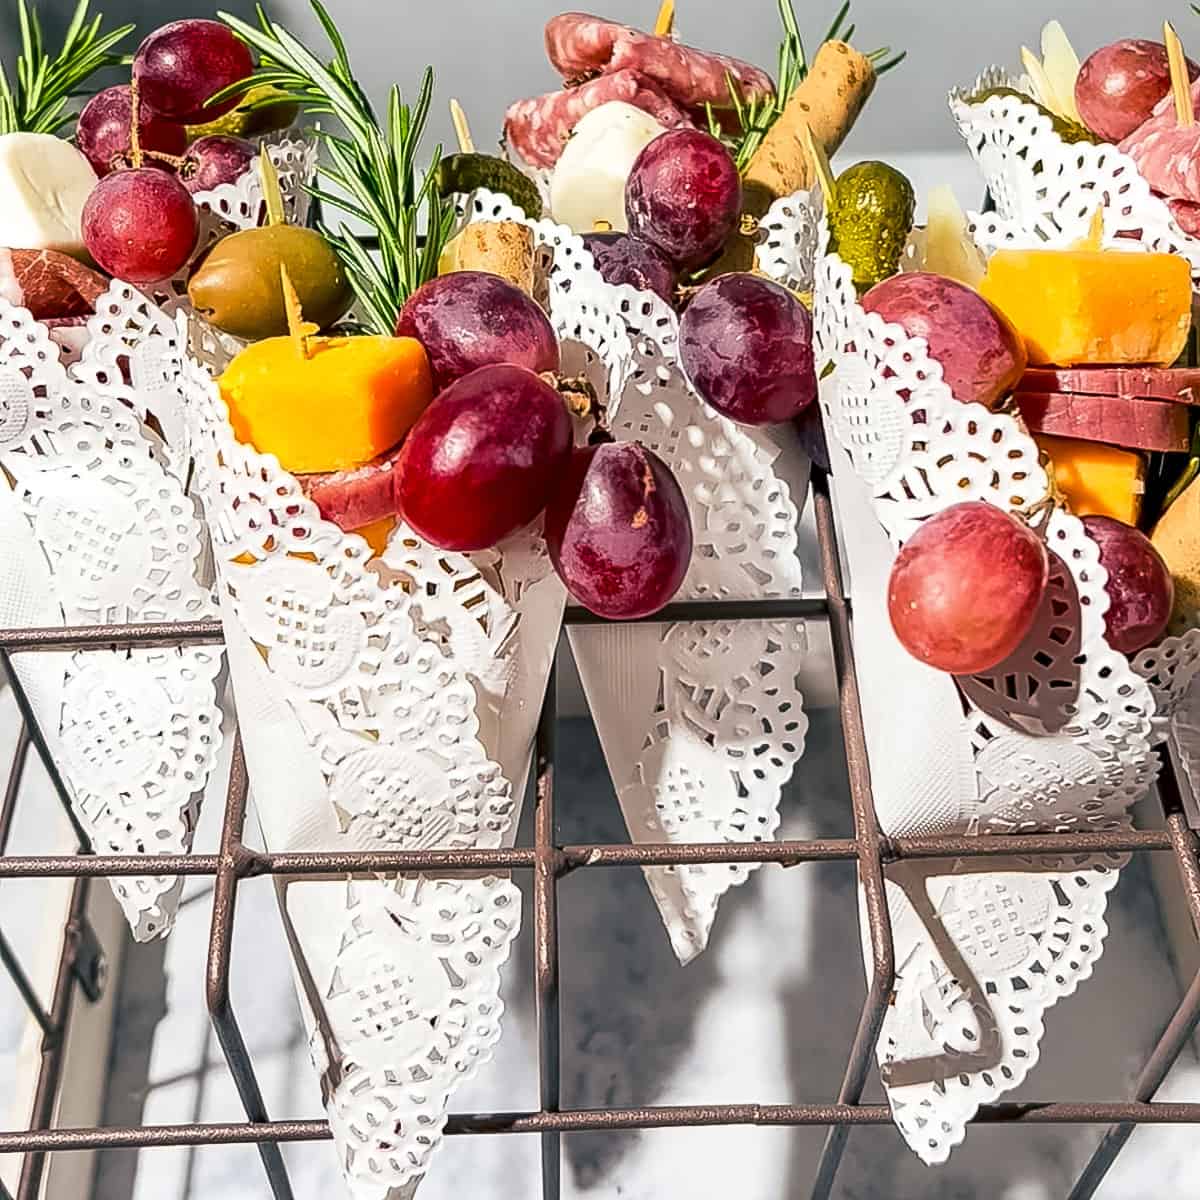
For cone-shaped charcuterie cups, you can display them in an upside down wire basket or a special cone holder.
Related Recipes
Did you love this charcuterie guide?
Please leave a 5-star 🌟🌟🌟🌟🌟 rating in the recipe card below & a review in the comments section below.
Charcuterie Cup Cones Recipe
Ingredients
- Nuts of choice
- Cheese sliced into triangles
- Pickles and/or olives
- Grapes stems cut for small clusters
- Salami or other charcuterie meats sliced
- Cheese cubes and/or mini balls
- Pirouette cookies broken in half
- Rosemary sprigs for garnish optional
Instructions
- Add nuts to the bottom of the cup.
- Add any cheese sliced into triangles or other shape that is long and vertical.
- Drape a grape cluster over the front part of the cone.
- Add additional skewers of meat, cheese, pickles, and/or olives.
- Add the pirouette cookie and sprig of rosemary, if using.









Rene'e Myers-Day
What do you secure it with ??
Melissa
Double sided tape works fine. They also make double sided adhesive rollers that you can buy at office supply/craft stores. They come in the same kind of dispenser as those white out rollers. Hope that helps! 🙂