Easy Dinner Ideas
Stuck in a dinner rut? No problem, I've got you covered with these easy dinner ideas are simple and satisfying.
Need help getting started with a few ideas? Try my Hibachi Shrimp with Fried Rice, which are a reader favorite and my most popular recipe. Or, try my Smoked Chicken Enchiladas, or Apple Cider Pork Chops with Brussels Sprouts for cozy and delicious meals.
-
Wine Country Burgers
-
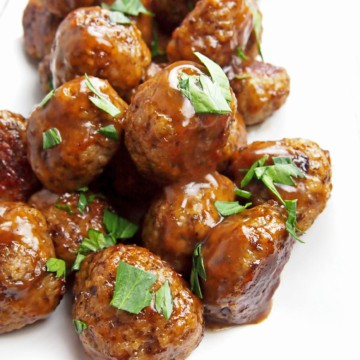
Mini Chicken Meatloaves with Pineapple BBQ Sauce
-
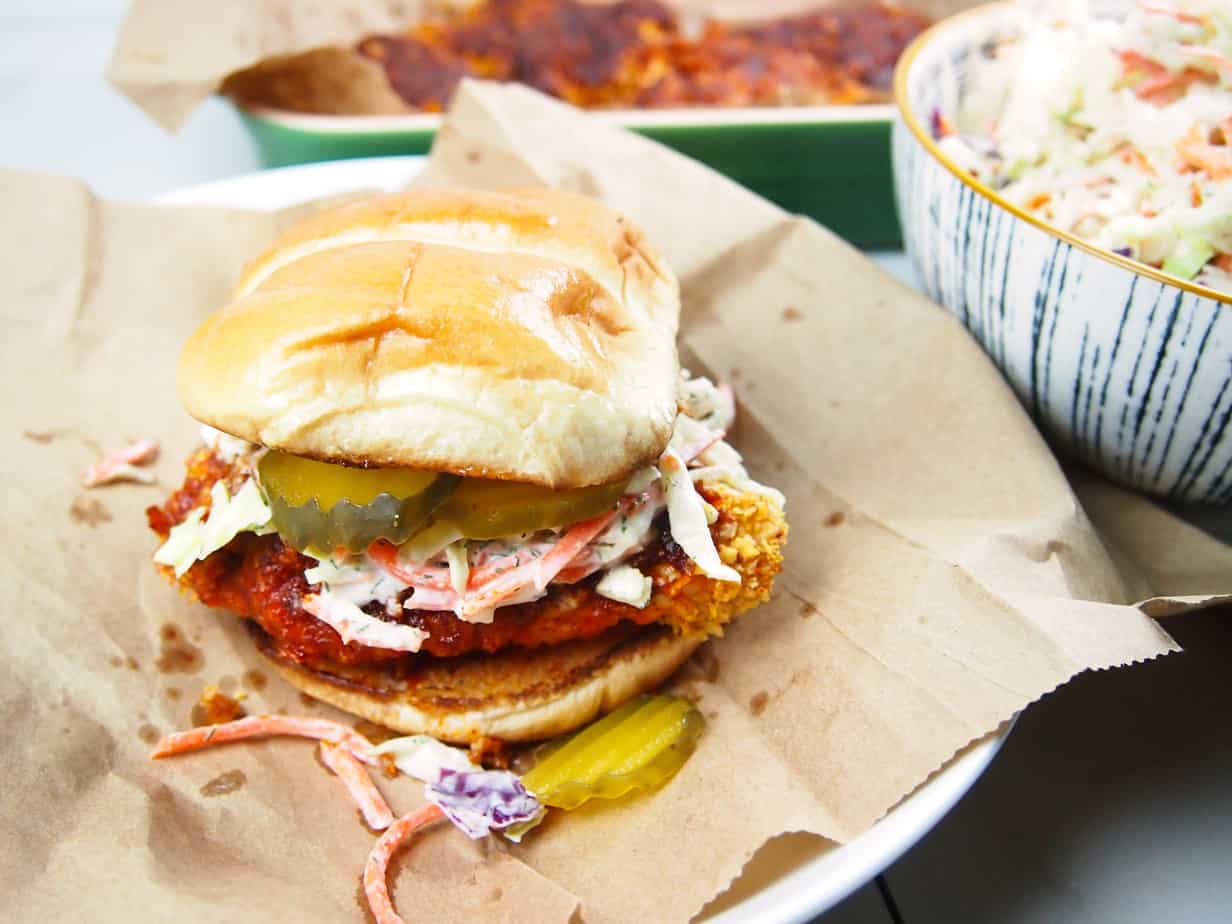
Nashville-Style Oven Fried Hot Chicken Sandwich with Dill Slaw
-
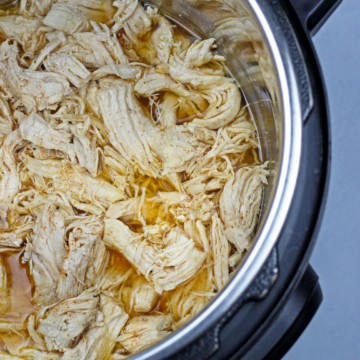
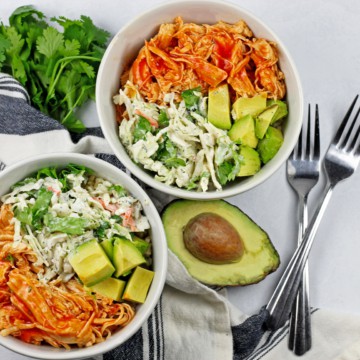
Instant Pot Shredded Chicken
-
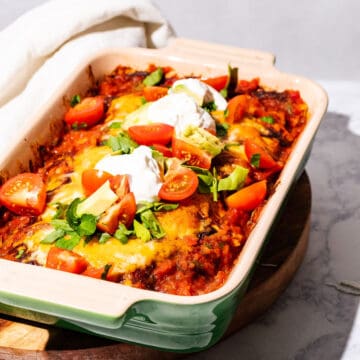
Easy Smoked Chicken Enchiladas (No Smoker Required)
-
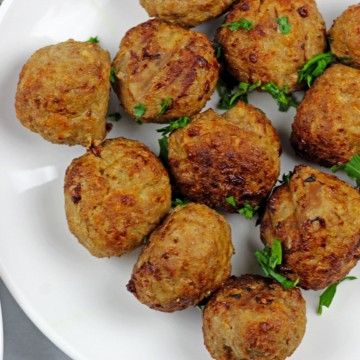
Air Fryer Turkey Meatballs Recipe
-
Buffalo Chicken Rice Bowl
-
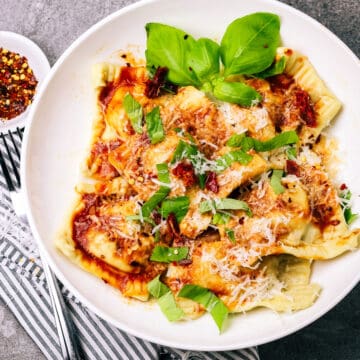
Vegetarian Ravioli with White Beans and Sun-Dried Tomatoes
-
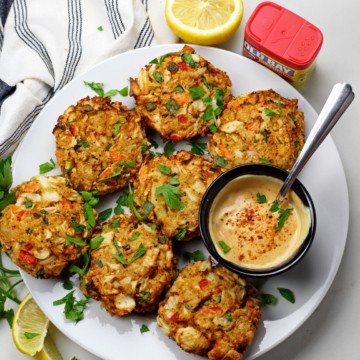
Air Fryer Crab Cakes
-
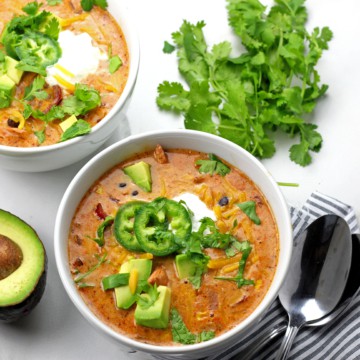
Creamy Chicken Enchilada Soup
-
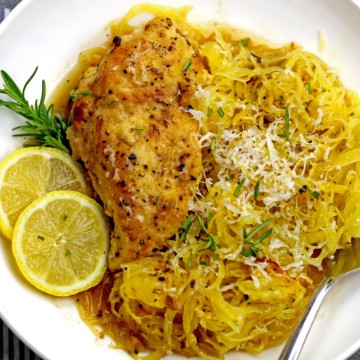
Braised Lemon Chicken with Spaghetti Squash
-
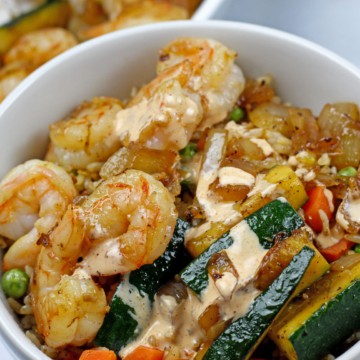
Hibachi Shrimp Rice Bowls
-
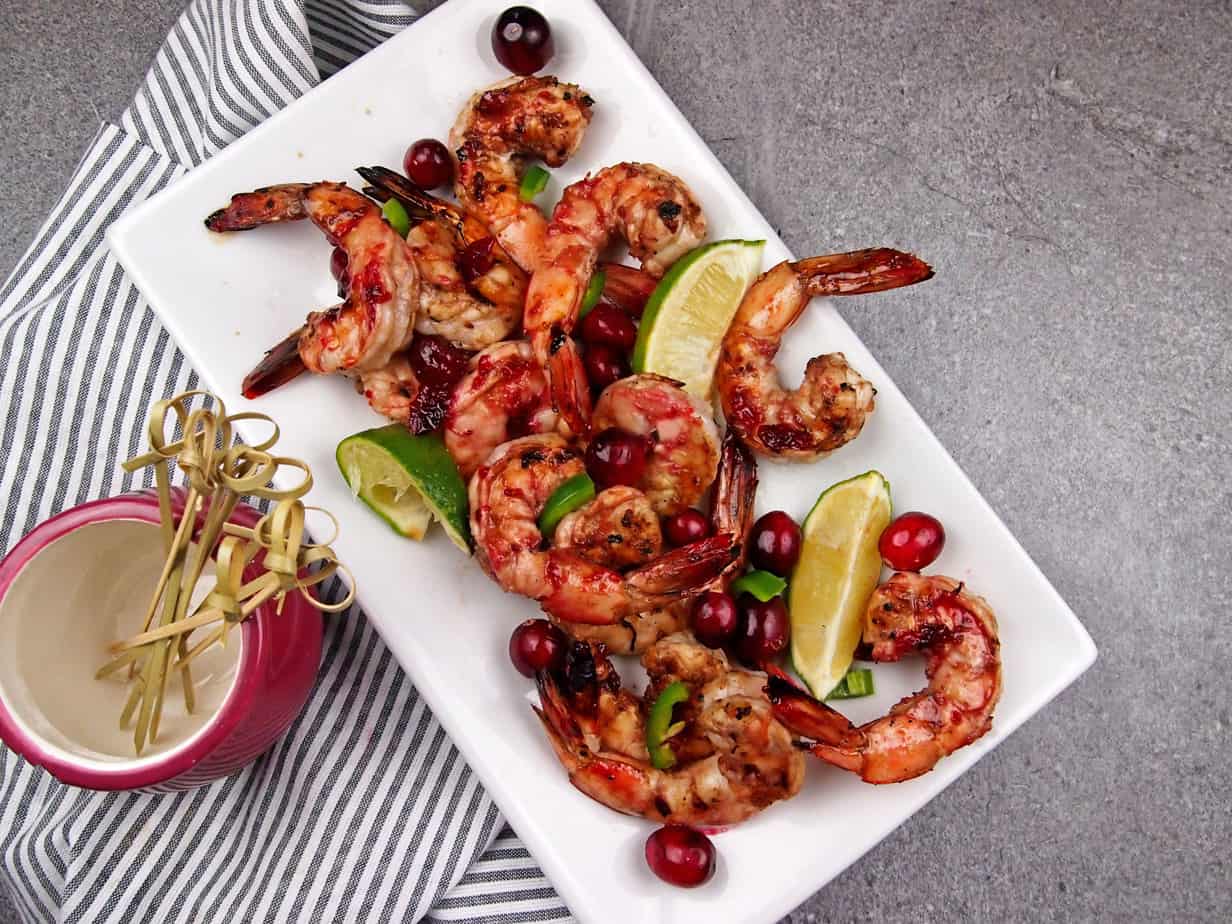
Spicy Cranberry Shrimp
-
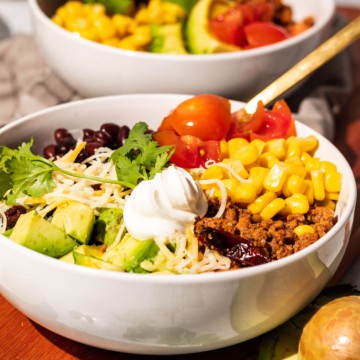
Turkey Taco Bowl
-
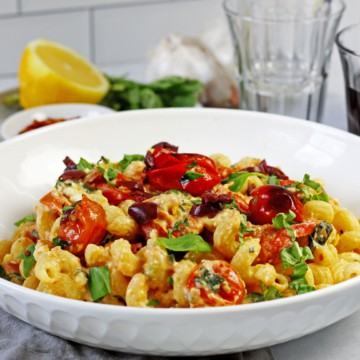
Feta Cherry Tomato Pasta (TikTok Feta Pasta)
-
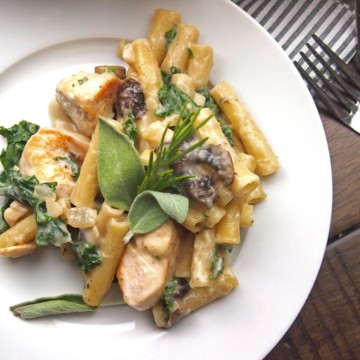
Creamy Chicken Pasta Bake with Kale and Mushrooms
-
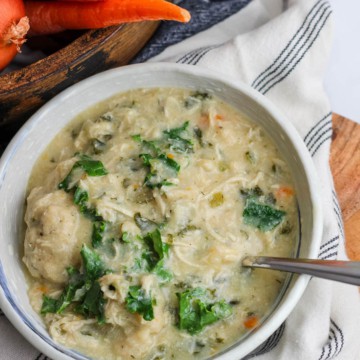
Instant Pot Chicken and Pancake Mix Dumplings with Winter Greens
-
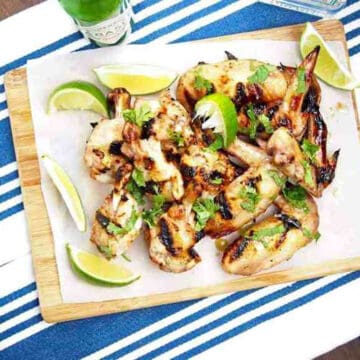
Grilled Margarita Wings
-
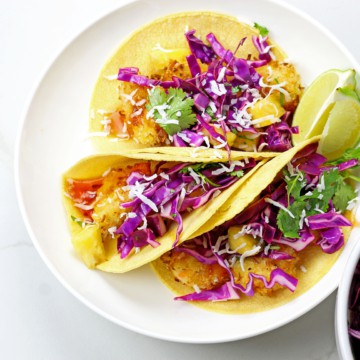
Air Fryer Coconut Shrimp Tacos with Honey-Lime Slaw
-
Chicken Marsala Meatballs
-
Creamy Potato Leek Soup with Kale and Bacon
-
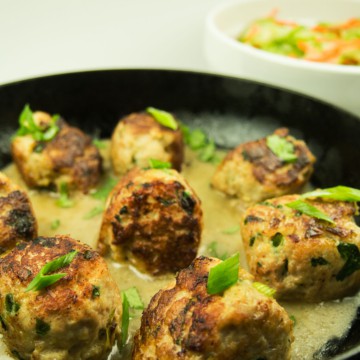
Lemongrass Chicken Meatballs with Cucumber Salad
-
Buffalo Chicken Flatbread Recipe
-
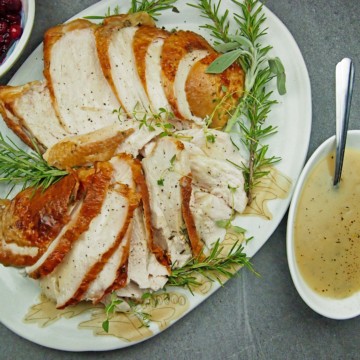
Roasted Turkey Breast with Chardonnay Gravy
-
Apple Cider Brined Pork Chops with Brussels Sprouts
-
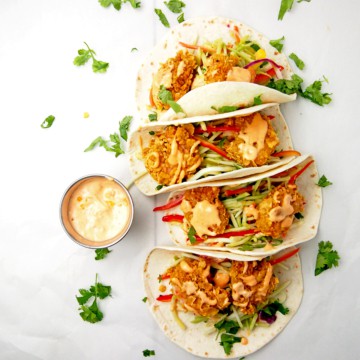
Bang Bang Shrimp Tacos
-
Homemade Pepperoni Rolls with Peppers
-
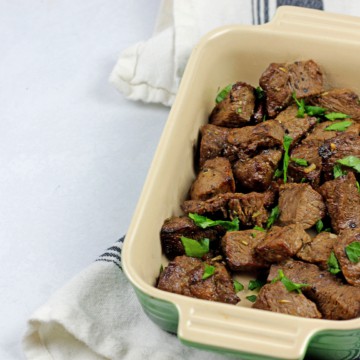
Air Fryer Steak Bites
-
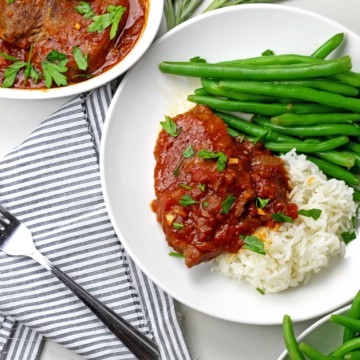
Instant Pot Swiss Steak
-
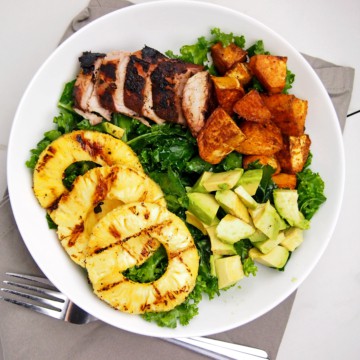
Grilled Pineapple Jerk Pork Bowls with Kale and Avocado
-
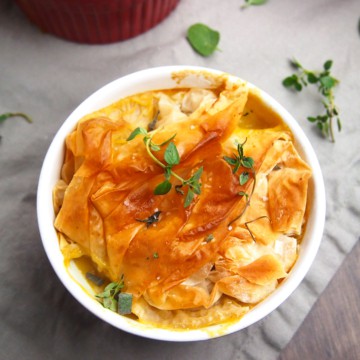
Sweet and Savory Vegetable Pot Pies