Skip to primary navigation
Skip to main content
Skip to primary sidebar
About
Press
Contact Me
Nutrition Coaching
Blog
Instagram
Pinterest
TikTok
Facebook
YouTube
Search
menu icon
Recipes
About
Shop
Contact Me
Instagram
Pinterest
TikTok
Facebook
YouTube
search icon
Search
Recipes
About
Shop
Contact Me
Instagram
Pinterest
TikTok
Facebook
YouTube
×
Home
Blog
29 Best Gin Gifts for the Gin Lovers in Your Life (2024)
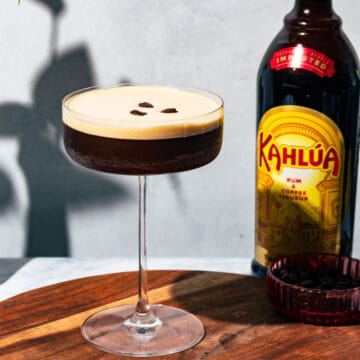
Easy Kahlua Espresso Martini Cocktail
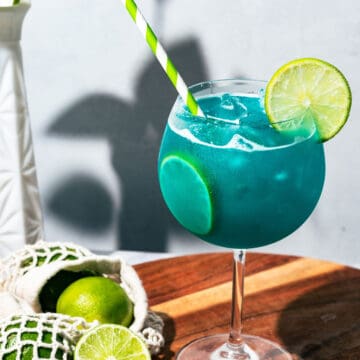
Blue Mermaid Water Margarita Cocktail
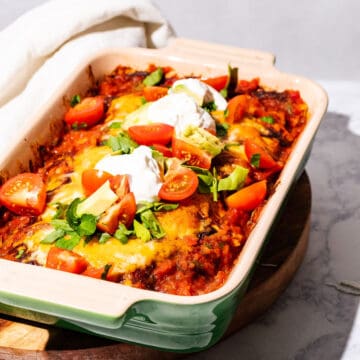
Easy Smoked Chicken Enchiladas (No Smoker Required)
Easy Aperol Vodka Martini Cocktail
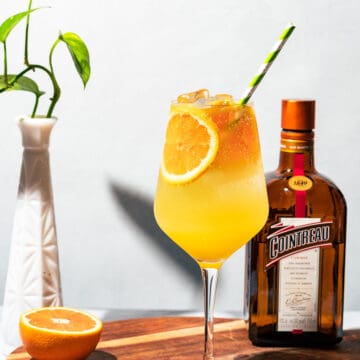
Citrusy Cointreau Spritz Cocktail
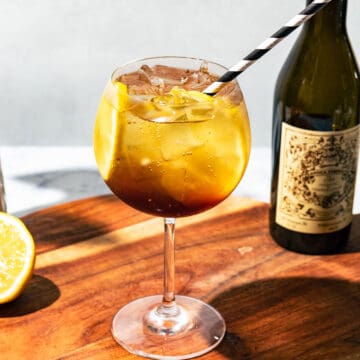
Italian Sweet Vermouth Spritz Cocktail
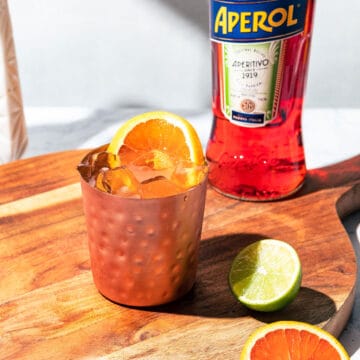
Aperol Moscow Mule Cocktail
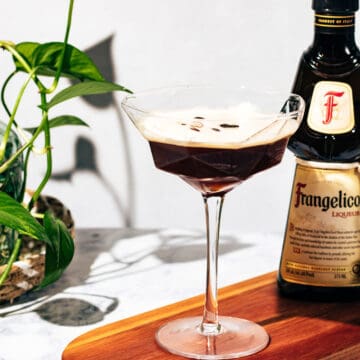
Hazelnut Espresso Martini with Frangelico and Coffee Vodka
Lemon Cheesecake Cocktail
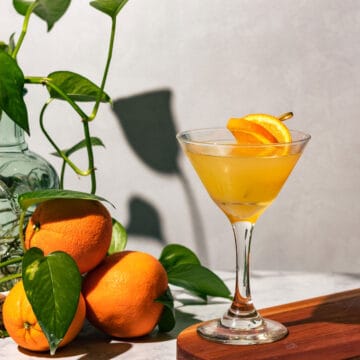
Orange Creamsicle Martini with Whipped Vodka
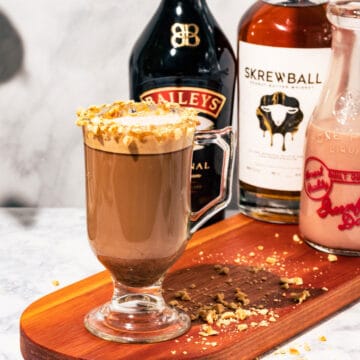
Snickers Irish Latte with Baileys and Skrewball Whiskey
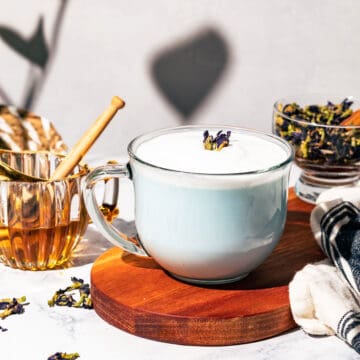
Blue Butterfly Pea Latte (Mermaid Latte)
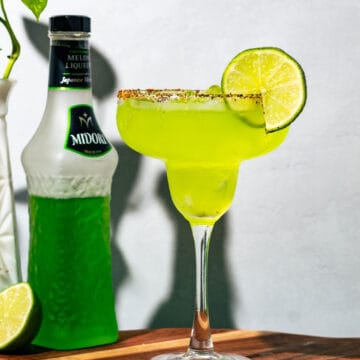
Midori Melon Margarita
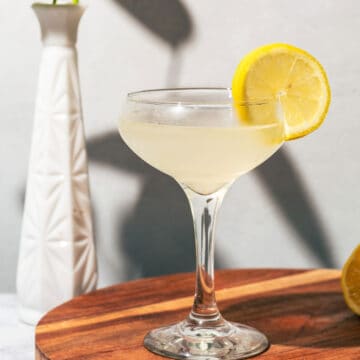
Lemon Daiquiri
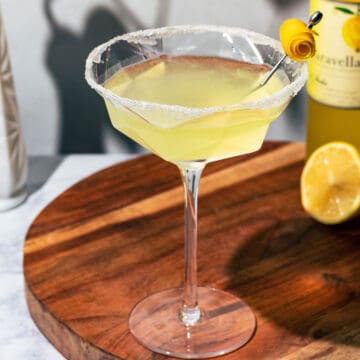
Lemon Drop Limoncello Martini (3 Ingredients)
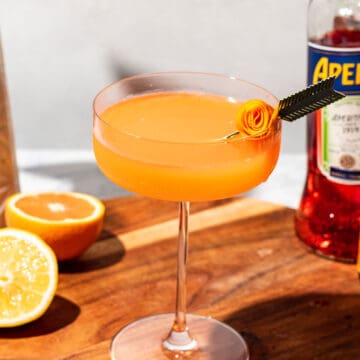
Paper Plane Cocktail
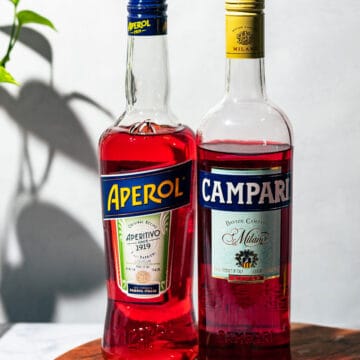
Aperol vs. Campari – The Ultimate Guide
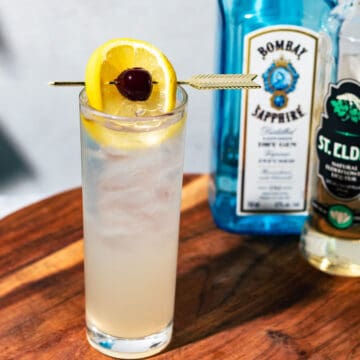
Gin Elderflower Collins with Lemon
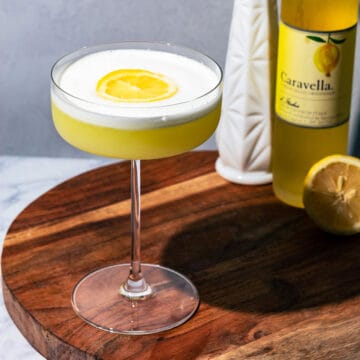
Limoncello Sour Cocktail
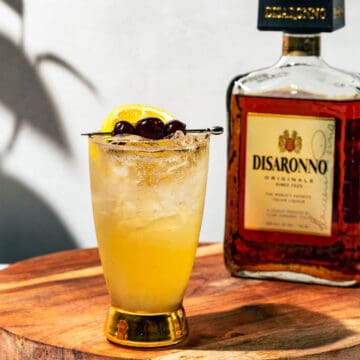
Easy Disaronno Fizz (Amaretto Fizz)
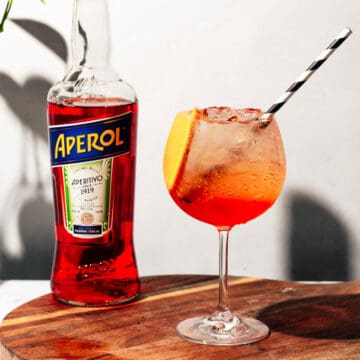
Italian Aperol Spritz (by the glass or pitcher)
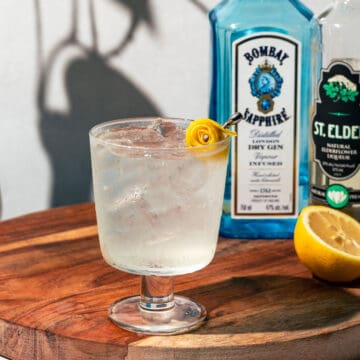
Gin and Tonic with Elderflower and Lemon
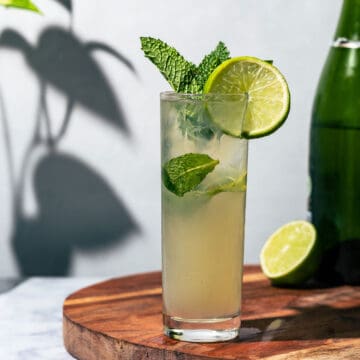
Mojito Royale Cocktail
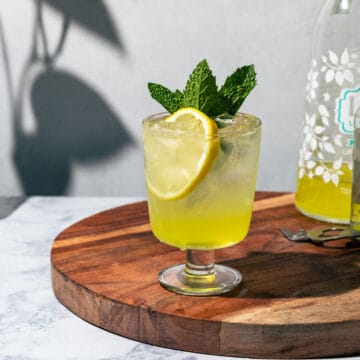
Limoncello Tonic Cocktail
Virgin Pina Colada Mocktail (without Alcohol)
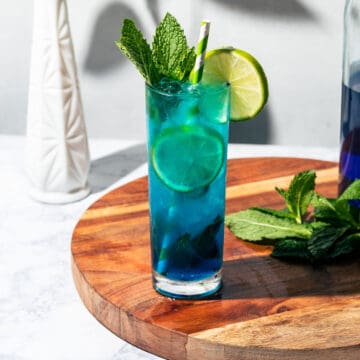
Blue Mojito (Blue Curacao Mojito)
Lemon Elderflower Sour with Vodka
Virgin Mai Tai Mocktail
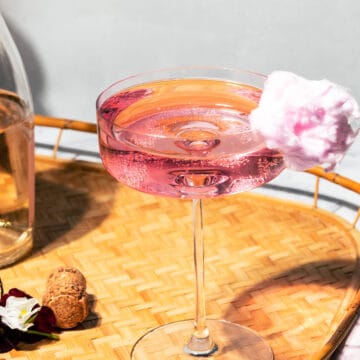
Shimmering Cotton Candy Spritz Cocktail with Prosecco
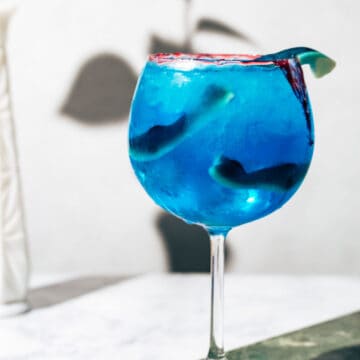
Blue Shark Attack Cocktail
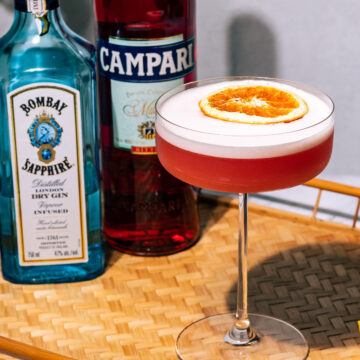
Negroni Sour
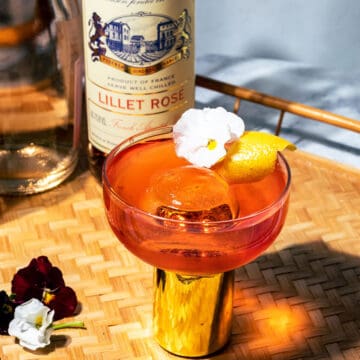
Rosé Pink Negroni
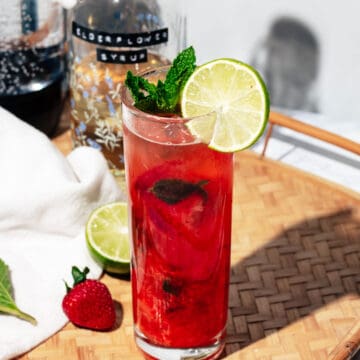
Strawberry Elderflower Mocktail Fizz with Mint
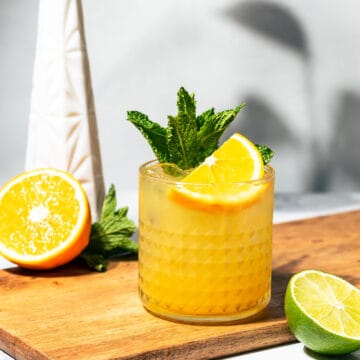
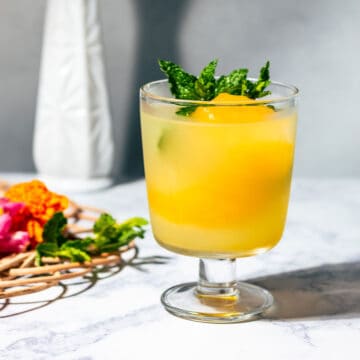
Passion Fruit Mint Lemonade Mocktail (Non-Alcoholic Mojito)
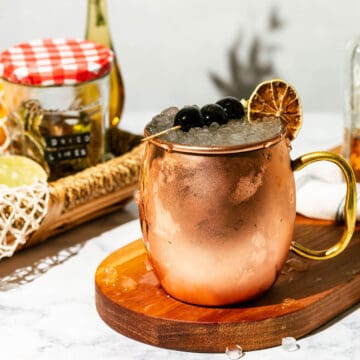
Italian Mule Cocktail with Amaretto
Spiced Dark Rum Old Fashioned Cocktail
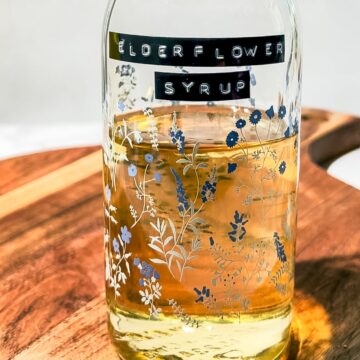
How to Make Homemade Elderflower Syrup (Cordial)
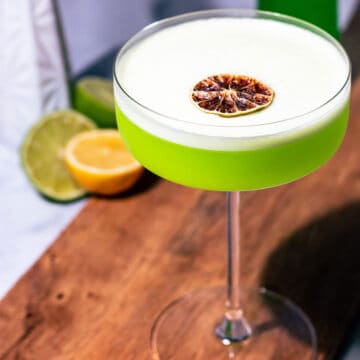
Midori Sour Cocktail
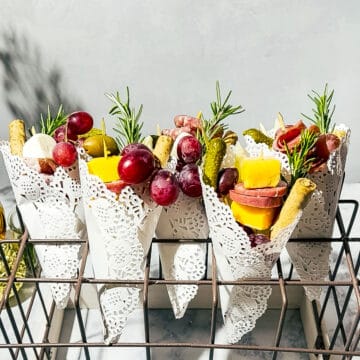
DIY Individual Charcuterie Cone Cups
« Previous Page
Next Page »