Poultry Recipes
Whether you're in the mood for a comforting chicken dinner or looking to try something new with turkey, these poultry recipes are sure to hit the spot.
If you want a suggestion, try my Chicken Marsala Meatballs or Creamy Chicken Pasta Bake for a meal everyone will love!
-
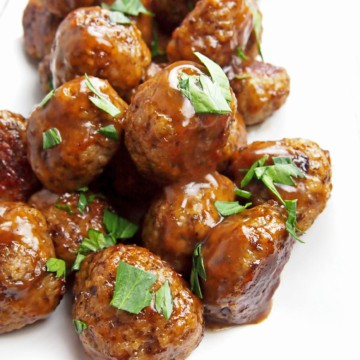
Mini Chicken Meatloaves with Pineapple BBQ Sauce
-
Nashville-Style Oven Fried Hot Chicken Sandwich with Dill Slaw
-
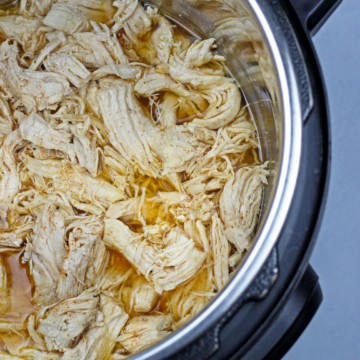
Instant Pot Shredded Chicken
-
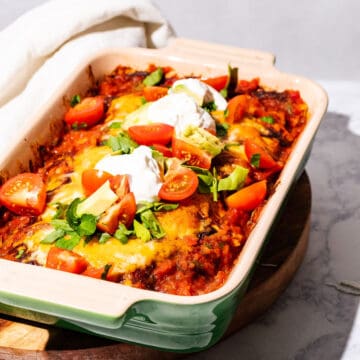
Easy Smoked Chicken Enchiladas (No Smoker Required)
-
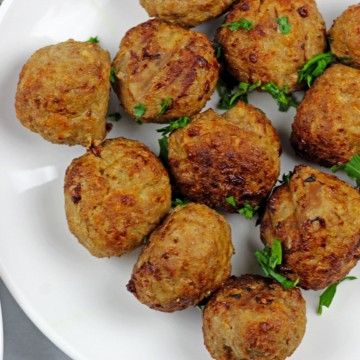
Air Fryer Turkey Meatballs Recipe
-
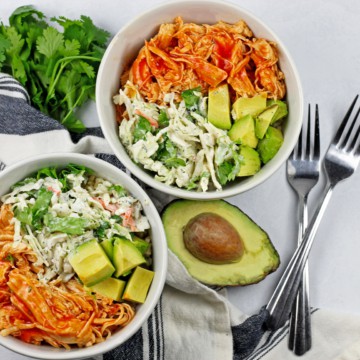
Buffalo Chicken Rice Bowl
-
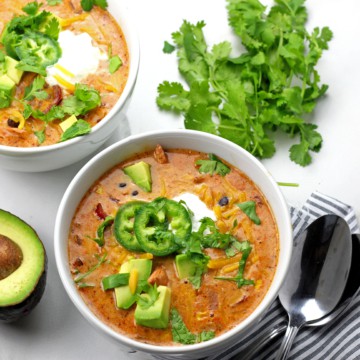
Creamy Chicken Enchilada Soup
-
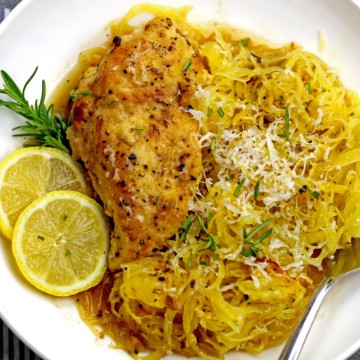
Braised Lemon Chicken with Spaghetti Squash
-
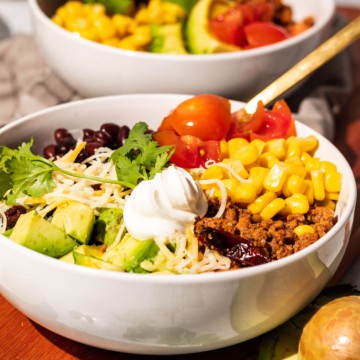
Turkey Taco Bowl
-
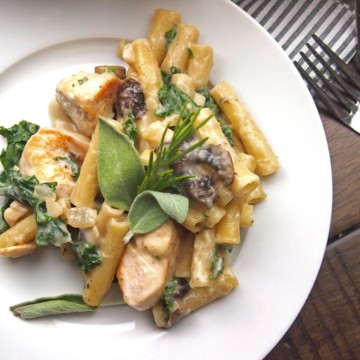
Creamy Chicken Pasta Bake with Kale and Mushrooms
-
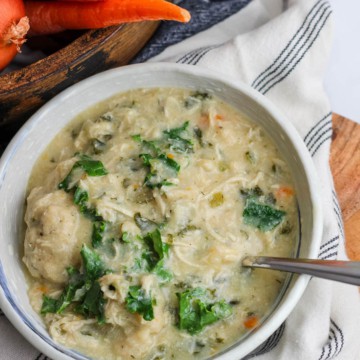
Instant Pot Chicken and Pancake Mix Dumplings with Winter Greens
-
Grilled Margarita Wings
-
Chicken Marsala Meatballs
-
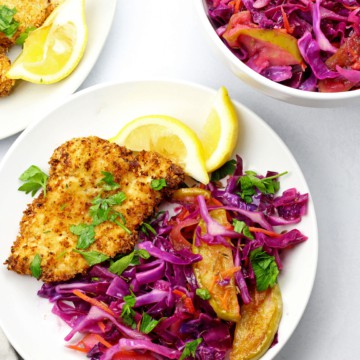
Air Fryer Schnitzel with Sweet and Sour Cabbage
-
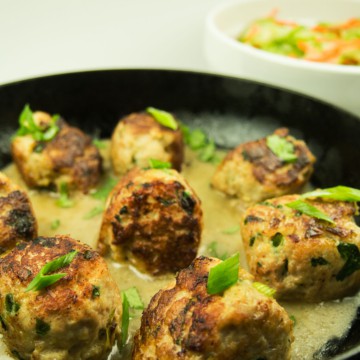
Lemongrass Chicken Meatballs with Cucumber Salad
-
Buffalo Chicken Flatbread Recipe
-
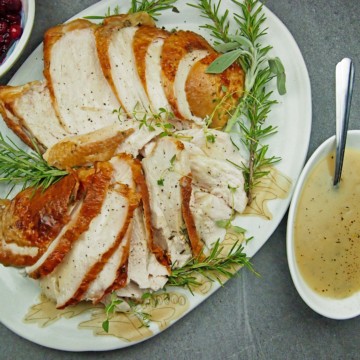
Roasted Turkey Breast with Chardonnay Gravy
-
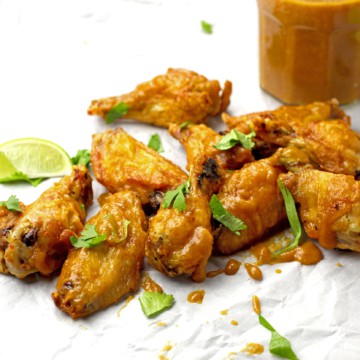
Air Fryer Wings with Mango BBQ Sauce