Easy Breakfast Recipes
Start your morning off right with these easy breakfast recipes that are perfect for any day of the week! Whether you're hosting a weekend brunch or just need something quick and satisfying before heading out the door, you'll find plenty of delicious options here.
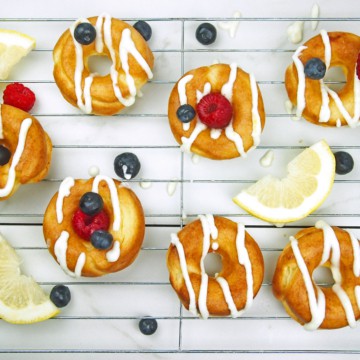
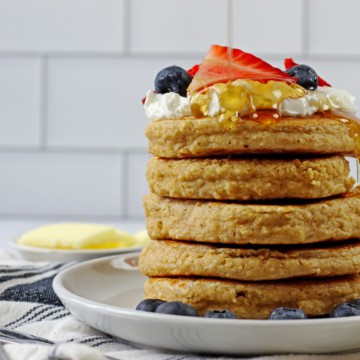
Need a suggestion? Try the light and fluffy Lemon Mascarpone Doughnuts, or whip up a Brunch Pizza with Eggs for something savory. If you're looking for a healthy twist, the Oat Flour Pancakes are a fan favorite and super easy to make!
-
Citrusy Cointreau Spritz Cocktail
-
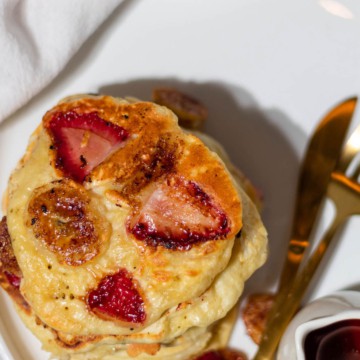
Caramelized Strawberry Banana Pancake Recipe
-
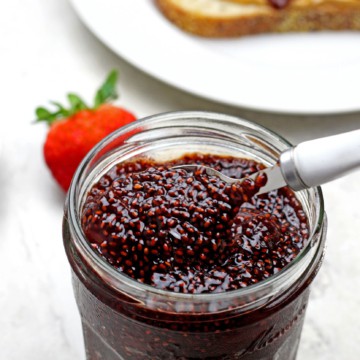
Balsamic Strawberry Chia Jam
-
Lemon Mascarpone Doughnuts
-
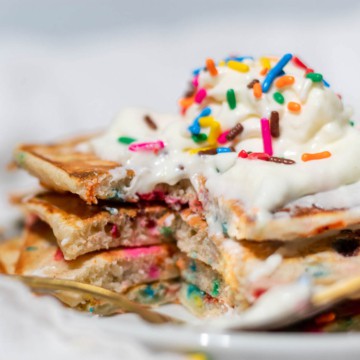
Confetti Pancakes Recipe
-
Spiced Eggnog Waffles
-
Pumpkin Cream Cold Brew (Starbucks Copycat)
-
Christmas Cranberry Poinsettia Mimosas
-
Best French Press Recipe (Full Tutorial with Video)
-
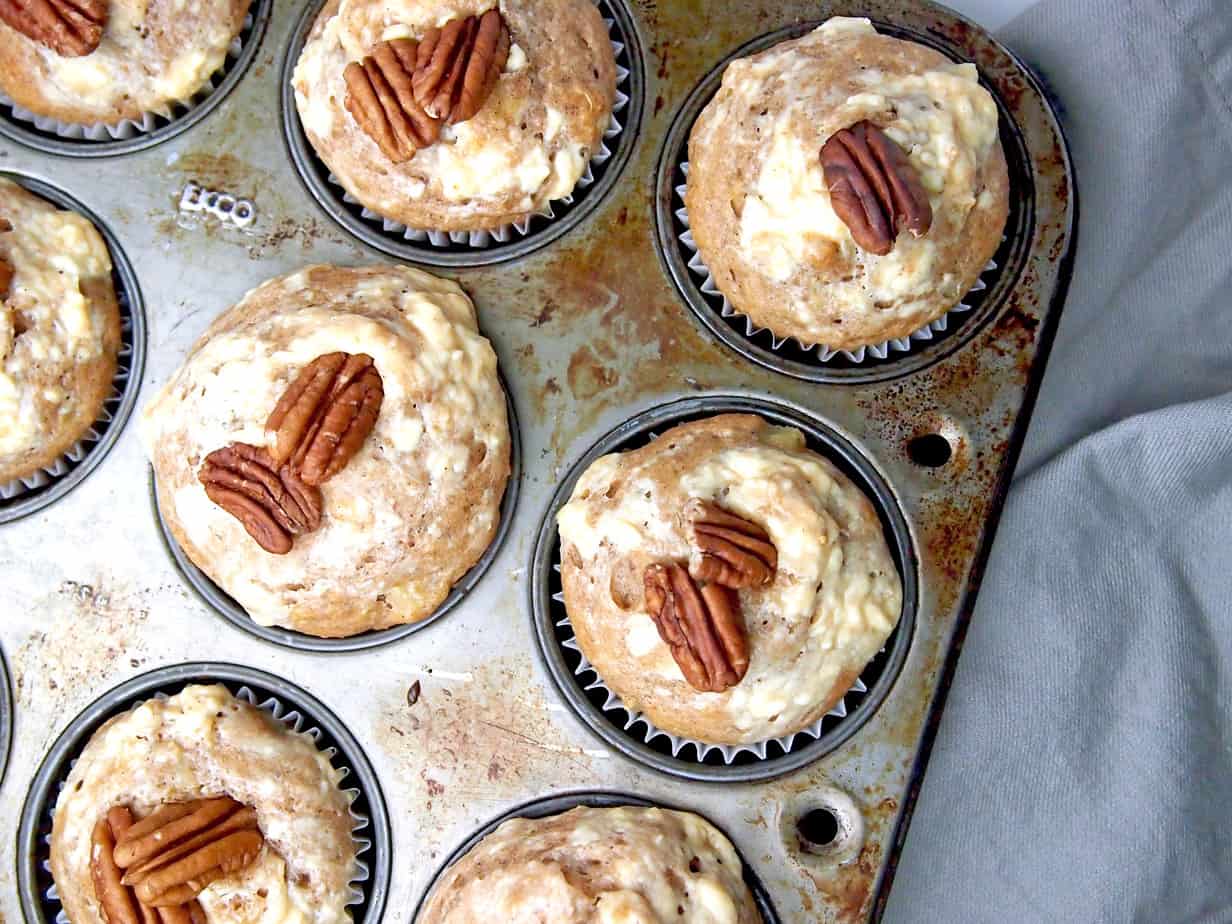
Hummingbird Muffins
-
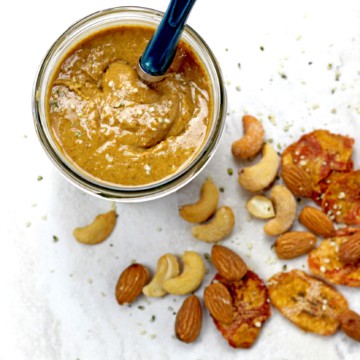
Banana Nut Butter
-
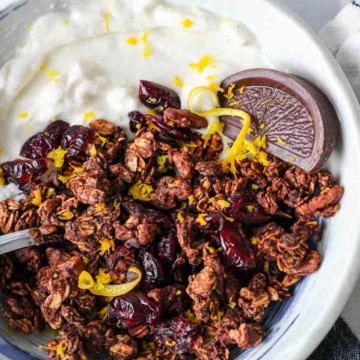
Orange Chocolate Christmas Granola
-
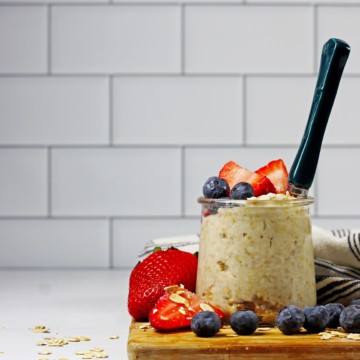
Vanilla Overnight Oats Recipe
-
Oat Flour Pancakes Recipe [Gluten Free]
-
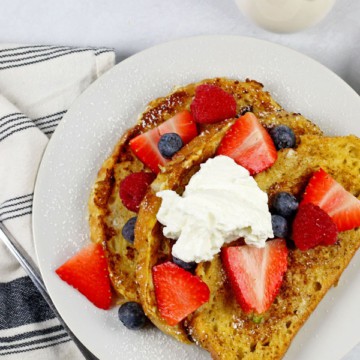
Sourdough French Toast
-
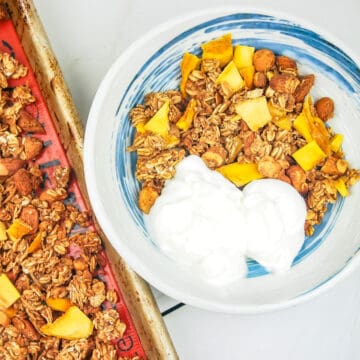
Homemade Tropical Granola with Mango and Coconut