Easy Side Dish Recipes
Looking to round out your meal? These side dish recipes are the perfect complement to any main course, whether you're hosting a dinner party or enjoying a quiet night in.
Want a suggestion? Try the Citrus Farro Brussels Sprout Salad for a bright and zesty side, or whip up some classic Garlic Bread. And if you're craving something crispy, the Smashed Potatoes are always a hit!
-
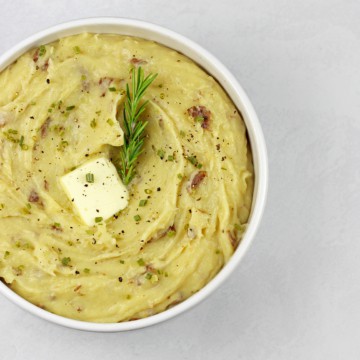
Red Skin Mashed Potatoes
-
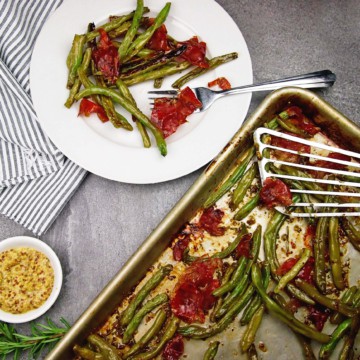
Crispy Green Beans with Prosciutto and Mustard Vinaigrette
-
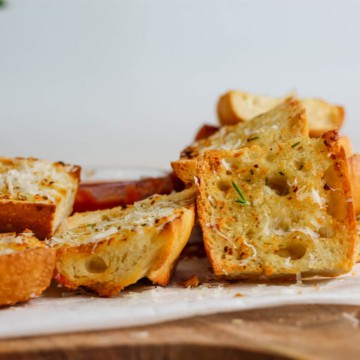
Homemade Air Fryer Garlic Bread
-
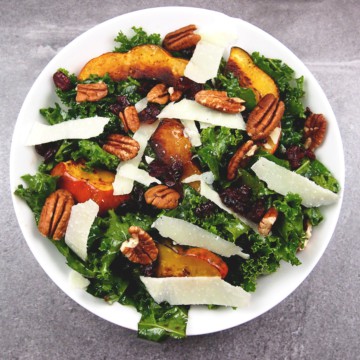
Roasted Squash Salad
-
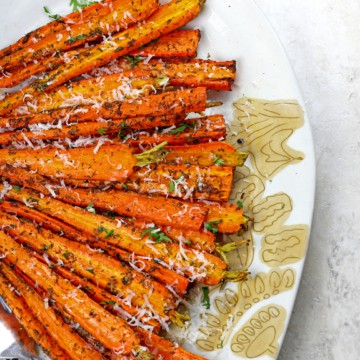
Air Fryer Carrots with Parmesan and Dill
-
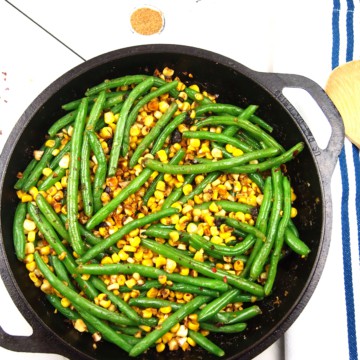
Caramelized Corn and Green Bean Skillet with Cumin
-
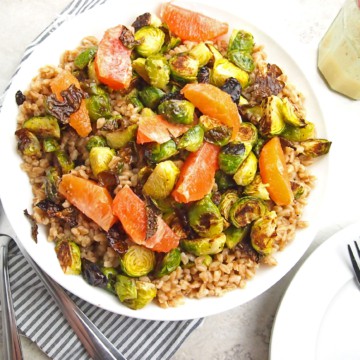
Citrus Winter Farro Salad
-
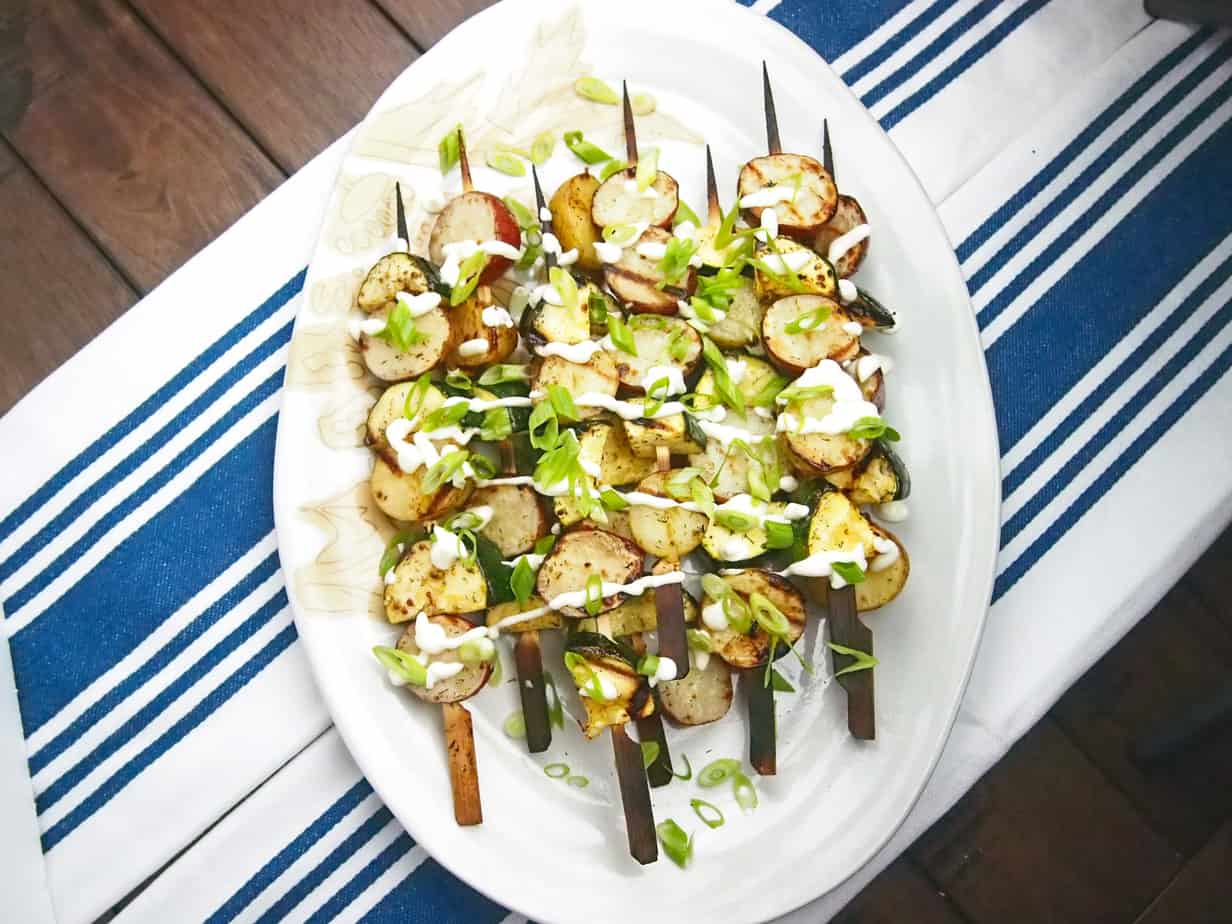
Grilled Potato Salad Skewers with Zucchini
-
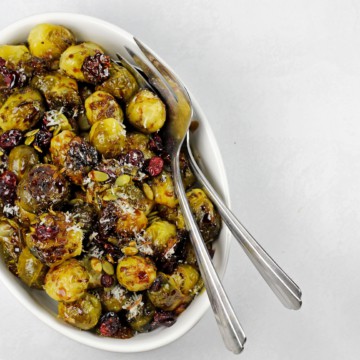
Smashed Brussels Sprouts with Balsamic Glaze, Pepitas, and Cranberries
-
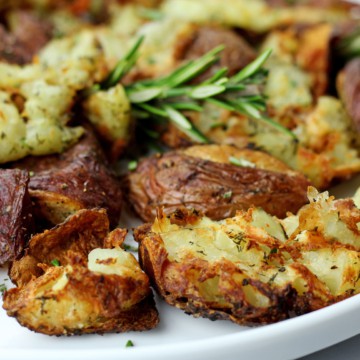
Air Fryer Smashed Potatoes
-
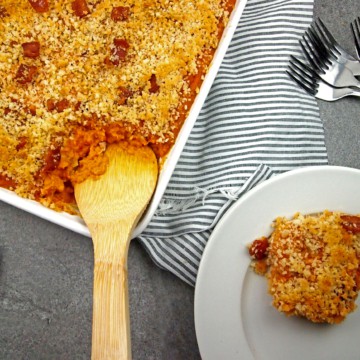
Smoky and Savory Sweet Potato Casserole
-
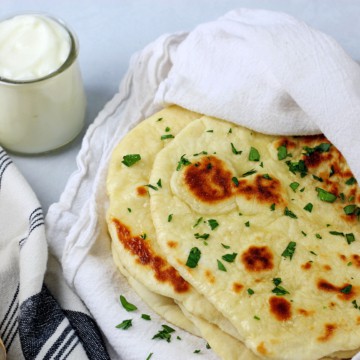
Yogurt Flatbread Recipe
-
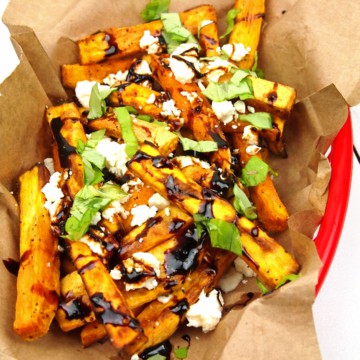
Loaded Sweet Potato Greek Fries