Snack Ideas and Recipes
Need some snack ideas? These easy and tasty snack recipes have you covered! Whether you're craving something sweet or savory, you'll find plenty of options.
If you want a suggestion, try the Churro Chex Mix is a sweet twist on the classic dessert. The Pepperoni Rolls are a great savory choice!
-
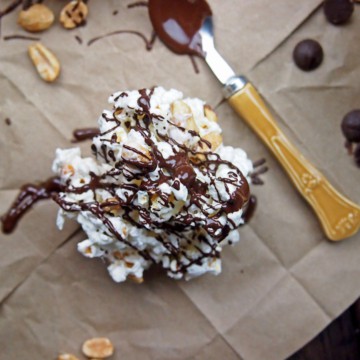
Salted Chocolate & Peanut Popcorn Clusters
-
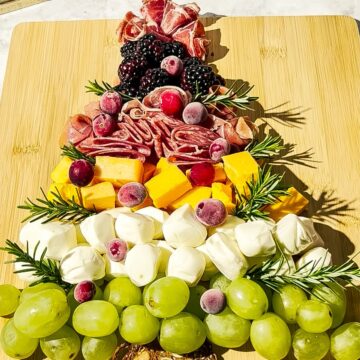
How to Make a Christmas Tree Charcuterie Board
-
Baked Brie with Fig Jam Recipe
-
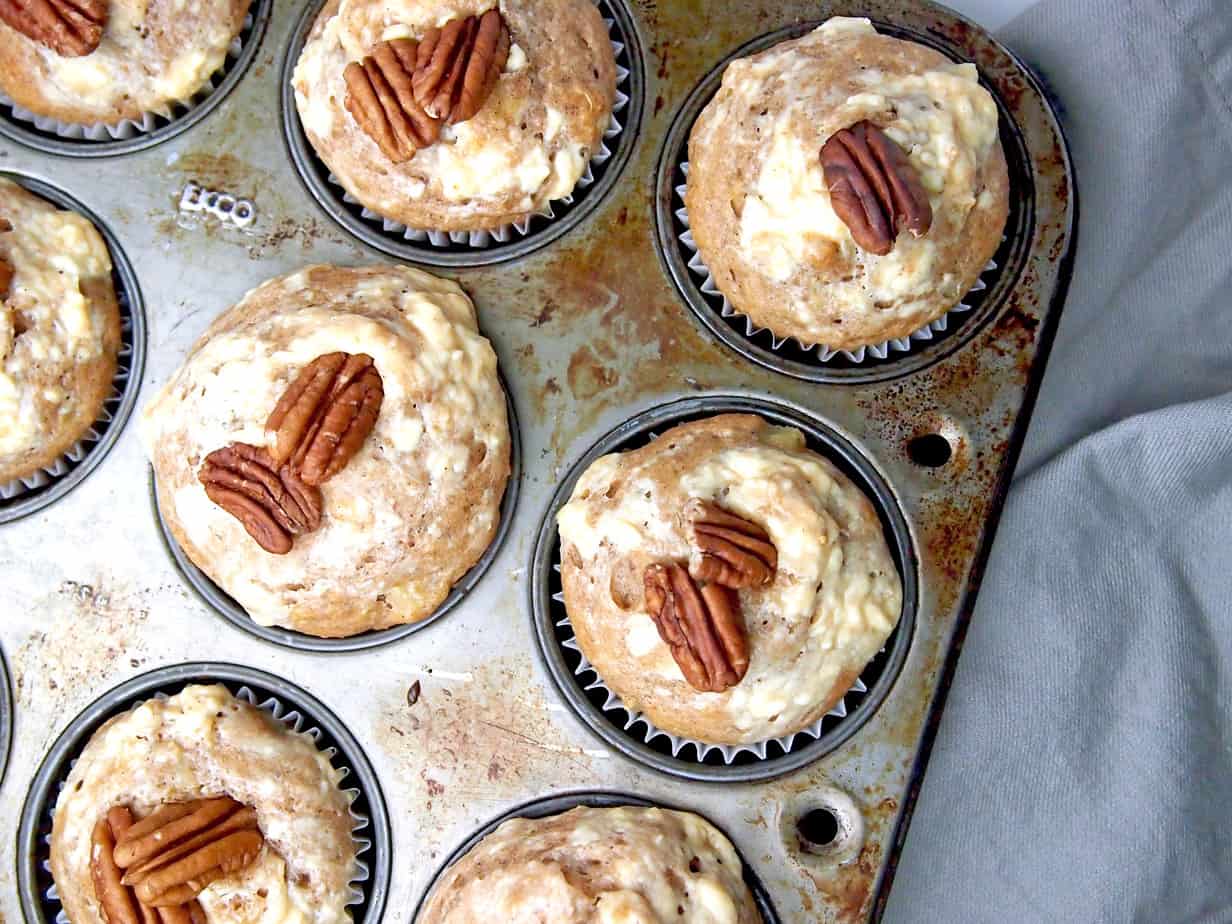
Hummingbird Muffins
-
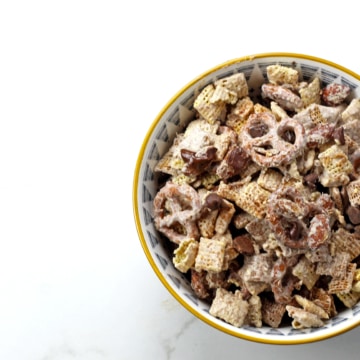
Churro Chex Mix
-
DIY Individual Charcuterie Cone Cups
-
Pumpkin Pie Hummus
-
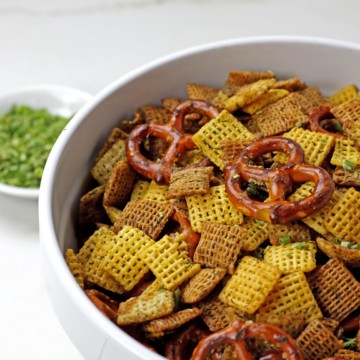
Ranch Chex Mix
-
Chickpea Cookie Dough
-
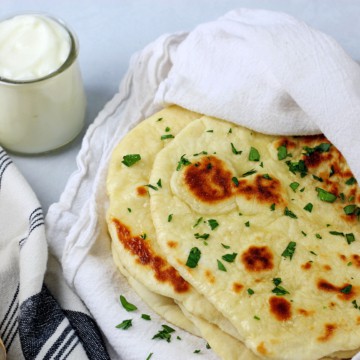
Yogurt Flatbread Recipe
-
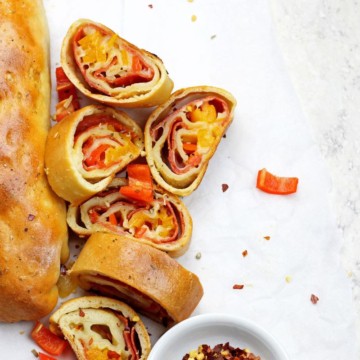
Homemade Pepperoni Rolls with Peppers
-
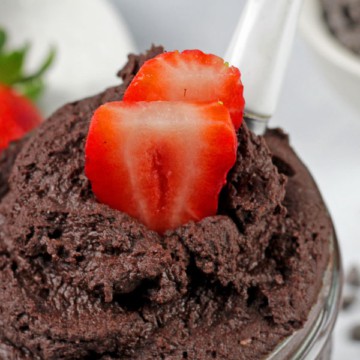
Edible Brownie Batter
-
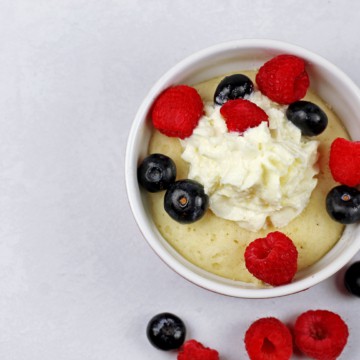
Vanilla Mug Cake
-
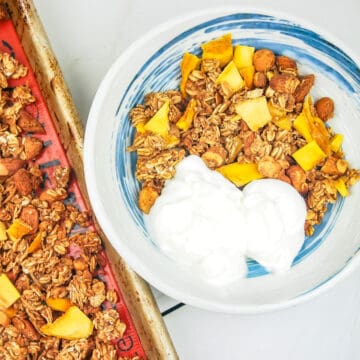
Homemade Tropical Granola with Mango and Coconut
-
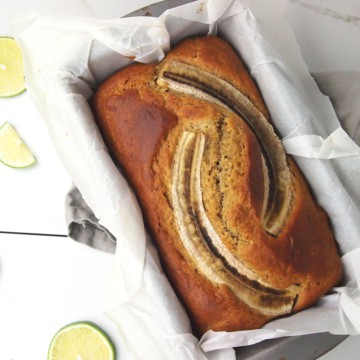
Lime Coconut Banana Bread