Recipes for Easy Meal Prep
Take the stress out of busy weeks with these simple meal prep recipes! You'll have quick, nutritious meals ready when you need them!
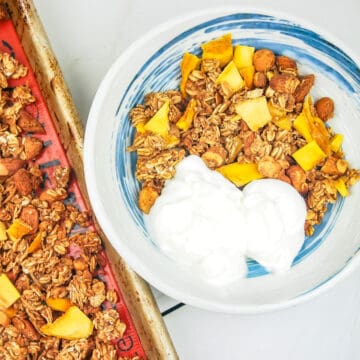
If you need some help deciding what to try first, I recommend the Chipotle Turkey Taco Bowls for a flavorful, protein-packed option or whip up some Tropical Granola for a breakfast or snack on-the-go!
-
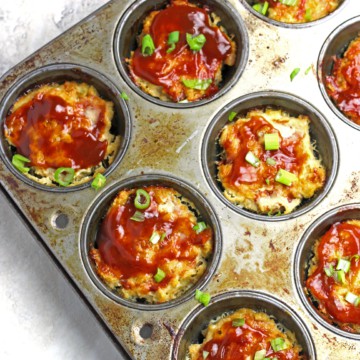
Mini Chicken Meatloaves with Pineapple BBQ Sauce
-
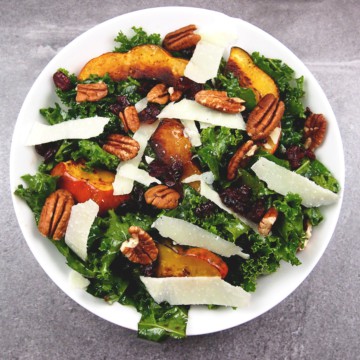
Roasted Squash Salad
-
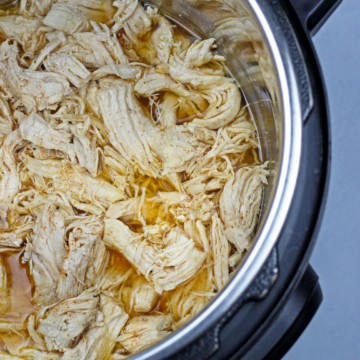
Instant Pot Shredded Chicken
-
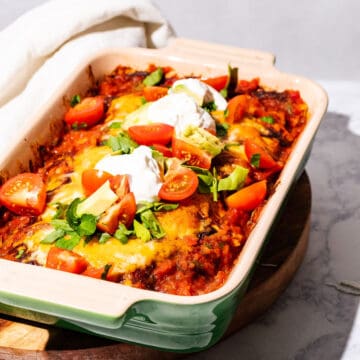
Easy Smoked Chicken Enchiladas (No Smoker Required)
-
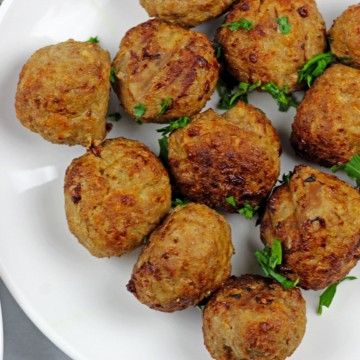
Air Fryer Turkey Meatballs Recipe
-
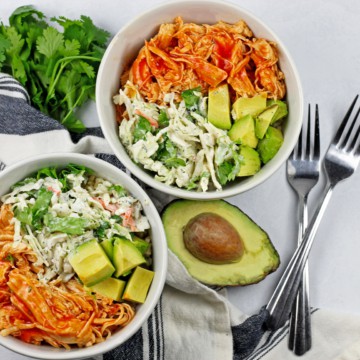
Buffalo Chicken Rice Bowl
-
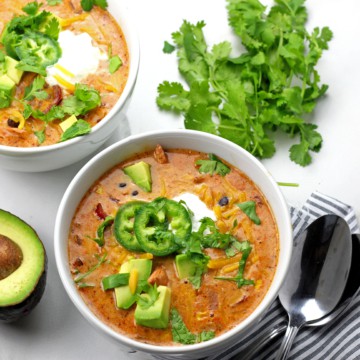
Creamy Chicken Enchilada Soup
-
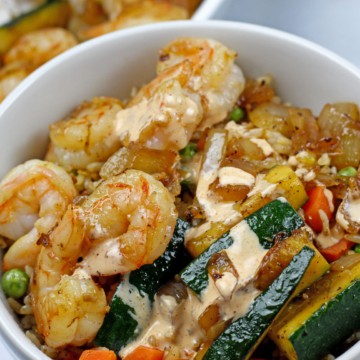
Hibachi Shrimp Rice Bowls
-
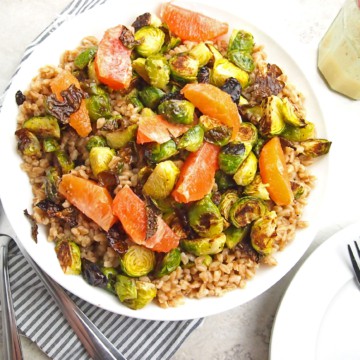
Citrus Winter Farro Salad
-
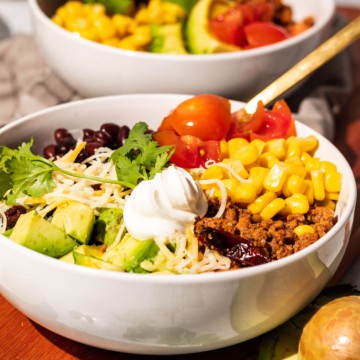
Turkey Taco Bowl
-
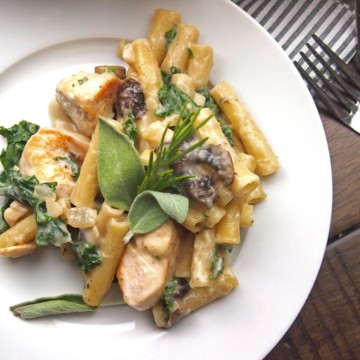
Creamy Chicken Pasta Bake with Kale and Mushrooms
-
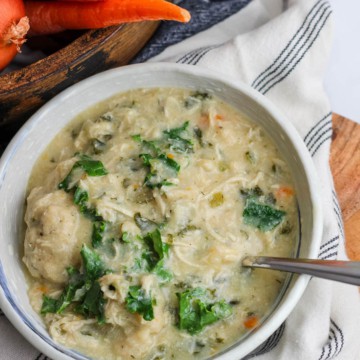
Instant Pot Chicken and Pancake Mix Dumplings with Winter Greens
-
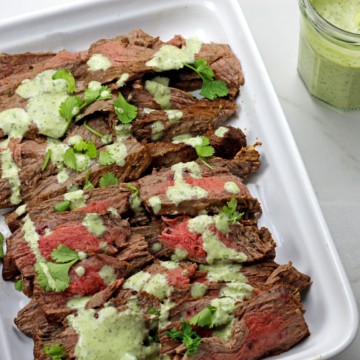
Instant Pot Carne Asada
-
Homemade Tropical Granola with Mango and Coconut