Vegetarian Recipes
Whether you're a vegetarian or just looking to add in more plants to your meals, these vegetarian recipes are packed with flavor and variety.
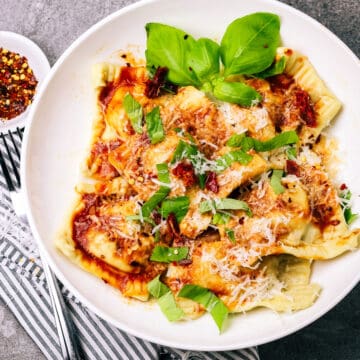
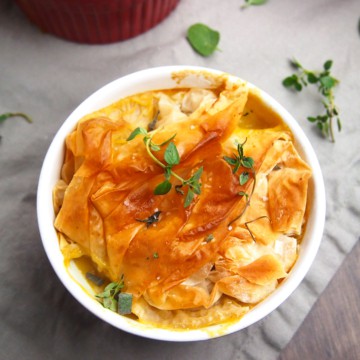
Don't know where to start? Try the White Bean and Sun-Dried Tomato Ravioli or whip up individual phyllo dough Vegetable Pot Pies for a cozy, satisfying meal!