Skip to primary navigation
Skip to main content
Skip to primary sidebar
About
Press
Contact Me
Nutrition Coaching
Blog
Instagram
Pinterest
TikTok
Facebook
YouTube
Search
menu icon
Recipes
About
Shop
Contact Me
Instagram
Pinterest
TikTok
Facebook
YouTube
search icon
Search
Recipes
About
Shop
Contact Me
Instagram
Pinterest
TikTok
Facebook
YouTube
×
Home
Search Results for: instant pot
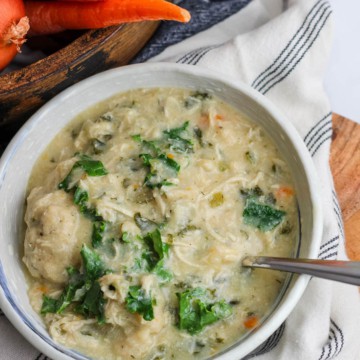
Instant Pot Chicken and Pancake Mix Dumplings with Winter Greens
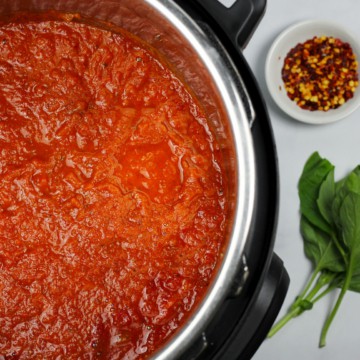
Instant Pot Marinara Sauce
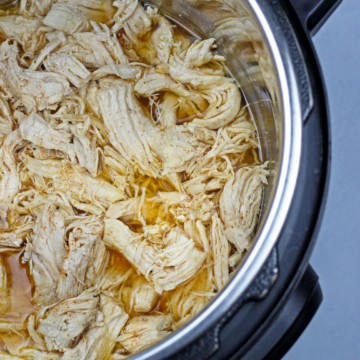
Instant Pot Shredded Chicken
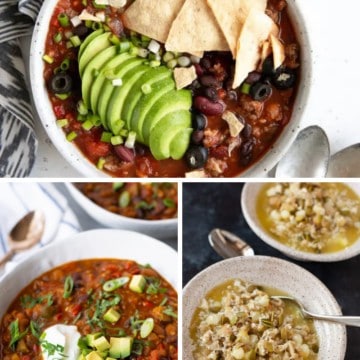
Ground Turkey Slow Cooker Recipes [Crockpot or Instant Pot]
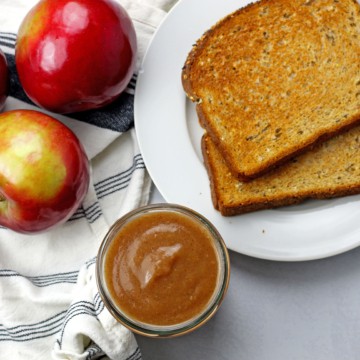
Instant Pot Apple Butter
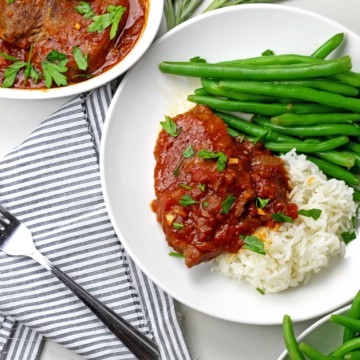
Instant Pot Swiss Steak
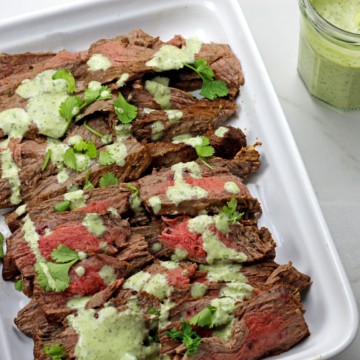
Instant Pot Carne Asada
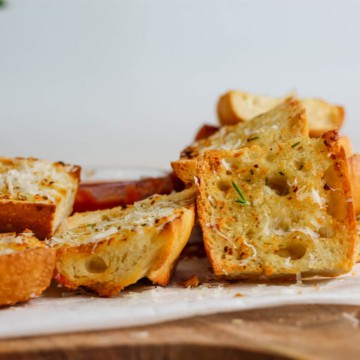
Easy Air Fryer Garlic Bread
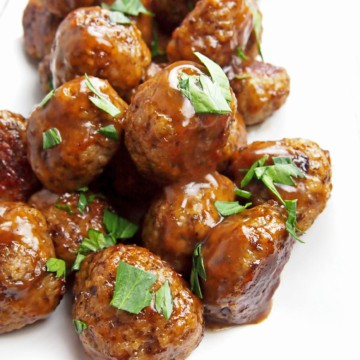
Chicken Marsala Meatballs
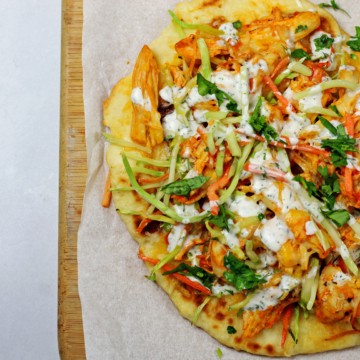
Buffalo Chicken Flatbread Recipe
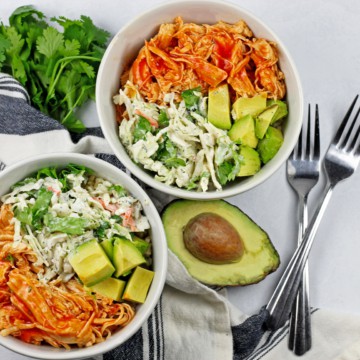
Buffalo Chicken Rice Bowl
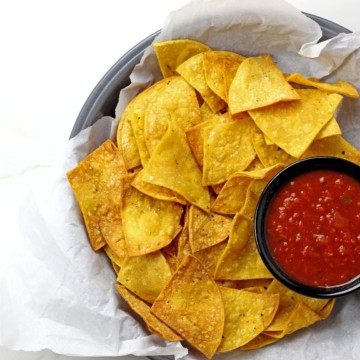
Air Fryer Tortilla Chips
Holiday Peppermint Espresso Martini Cocktail
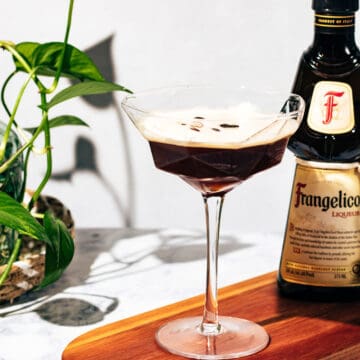
Hazelnut Espresso Martini with Frangelico and Coffee Vodka
Recipes
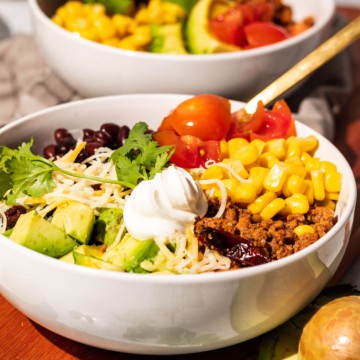
Turkey Taco Bowl
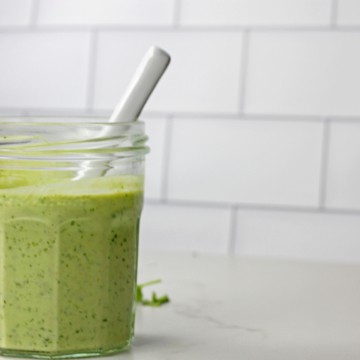
Cilantro Garlic Sauce
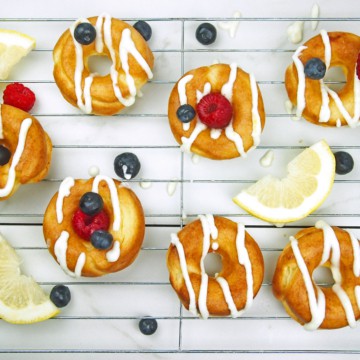
Lemon Mascarpone Doughnuts